- Use the widest angle lens you have, preferably a “fast” lens with an aperture of f2.8 or wider, and shoot with the aperture wide open. Our go-to lens for northern lights is a Nikon 14-28mm, f2.8. While it is certainly possible to take aurora photos with practically any lens, a slower lens needs a longer exposure which increases the chance of blurring the image, or a higher ISO setting which may add noise.
- Remove any filters from your lens. Photographing the aurora with a filter often results in a series of weird concentric circles on your image.
- Set the camera on manual exposure and manual focus, then set the focus on infinity. Depending on the lens, you might not be able to simply crank the focus all the way to infinity and leave it there. Many lenses, perhaps most, require some fine tuning to get an accurate infinity focus. It’s very difficult, though not impossible, to focus in the dark. The most reliable method we’ve found is to focus on some distant object in the daytime, then take note of where the focusing ring should be. Also take note of how close you can be to foreground features and still have them in focus.
- The ISO setting and the shutter speed will likely depend on the light conditions (some aurora displays are brighter than others) and the type of camera you have. The higher the ISO setting, the more noise (similar to graininess) that will show up in the image. Cameras vary as to how well they handle high ISO – some are fine at 1600 or higher while some are quite noisy at 800. We usually aim at having the lowest ISO possible. A good starting point is ISO 800. A common shutter speed for aurora photography is around 30 seconds, so this is a reasonable place to start. After taking a couple shots, have a look at the results and adjust the ISO and shutter speed higher or lower as needed. Settings for all of these images were ISO 400, f2.8, and shutter speeds varying between 20 and 30 seconds.
- Definitely use a tripod, and ideally use a cable release as well to minimize camera shake. As an alternative to a cable release you can use the self-timer. The most convenient is to set it to a 2 second delay, so after you press the shutter, the camera has a couple seconds to relax before firing.

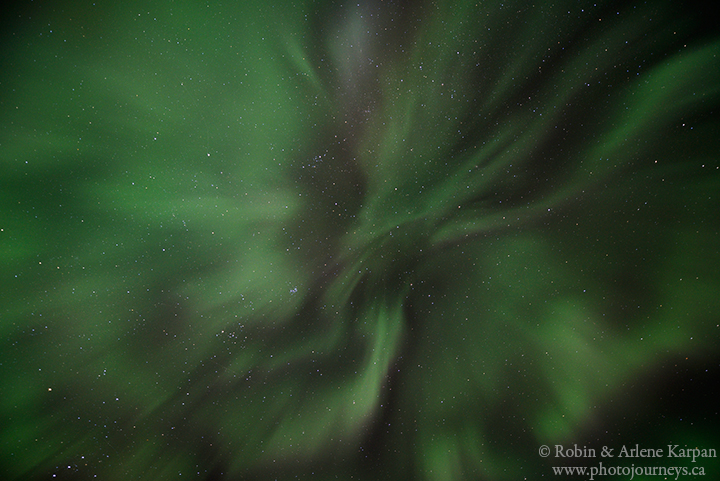
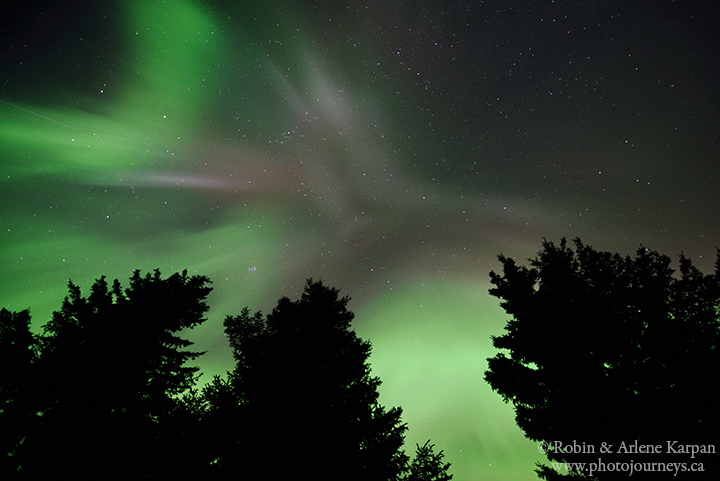
These shots of the aurora borealis or northern lights are from one especially amazing night where the entire sky seemed to be on fire. And while we usually think of northern lights as being in the north, these were everywhere. In fact, many of these images were taken while facing south.
Points to consider when shooting the aurora
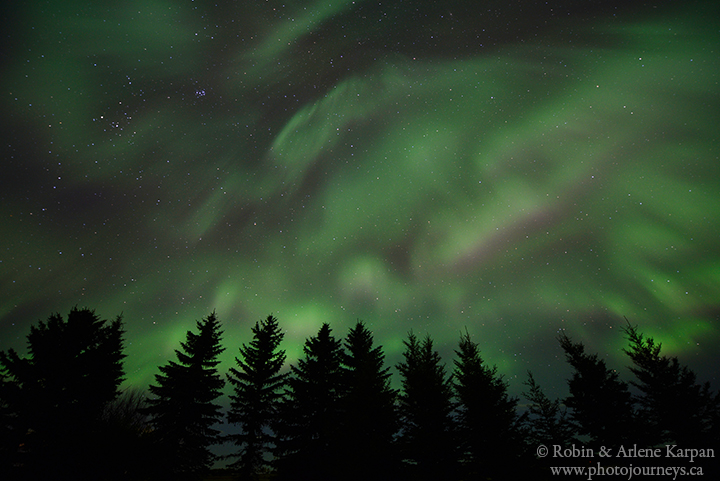
Dark Skies are Best
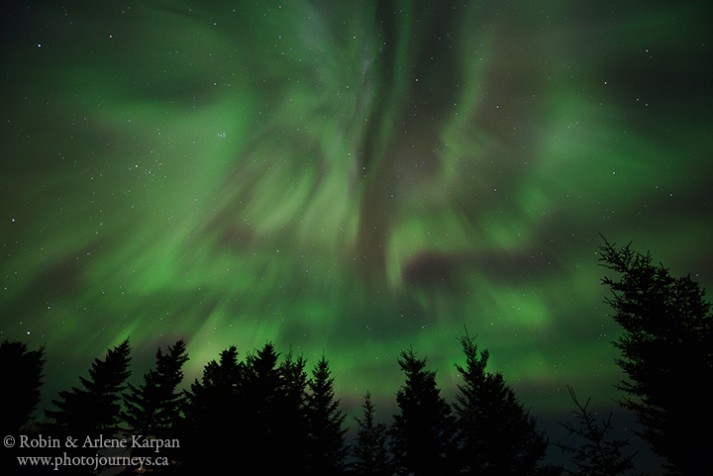
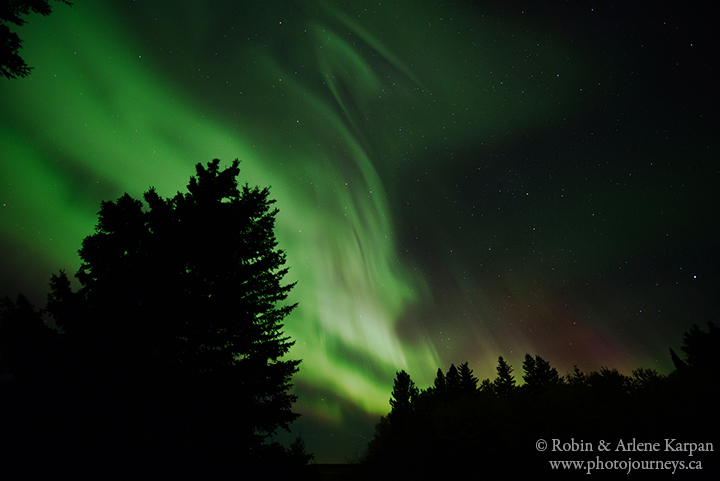
A dark sky away from the light pollution of towns and cities helps to emphasize the colour of the night. We didn’t have to go far for these shots – just to the back yard of our farm in the Thickwood Hills of northwest Saskatchewan. While a dark sky is usually best, you can certainly take successful photos while including other elements, even buildings with lights, in the foreground. It all depends on the effect that you’re after. This is intended as a starting point. Experiment with different lenses and settings and see what happens. The most important thing is to have fun with the night sky.