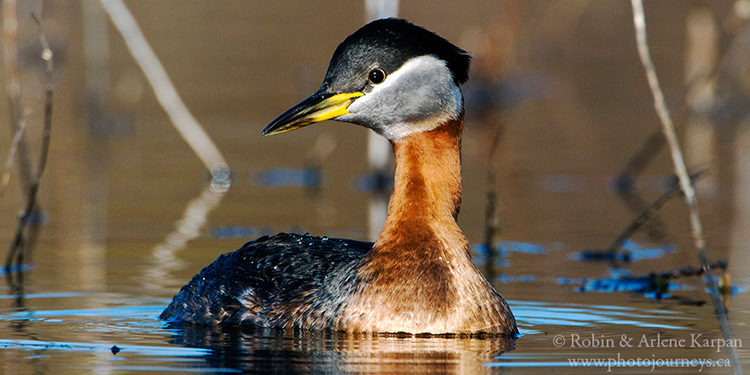
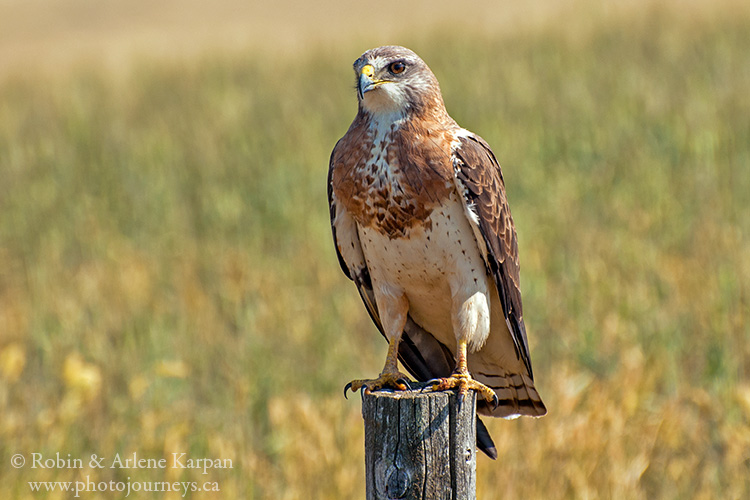
Birds make some of the most rewarding photo subjects, especially at this time of year when spring migrants are returning and are sporting colourful mating plumage. But they aren’t the most cooperative subjects. They get upset if we come too close, seldom stay still, and often hang out in places where it’s difficult to photograph. There are a lot of ways that we can improve our chances of taking great shots. Here are 8 fairly easy tips that can make a big difference.
Make use of the best light
What light is “best” may vary. On a sunny day, early morning just after sunrise and evening just before sunset are prime times. These so-called golden hours are well known for landscape photography but the same principles apply to wildlife photography, and especially to birds when we want to show off some of their dazzling colours. The light at this time is more flattering, and the low sun angle accentuates colour and detail. Besides, early morning is when many birds are out and about.
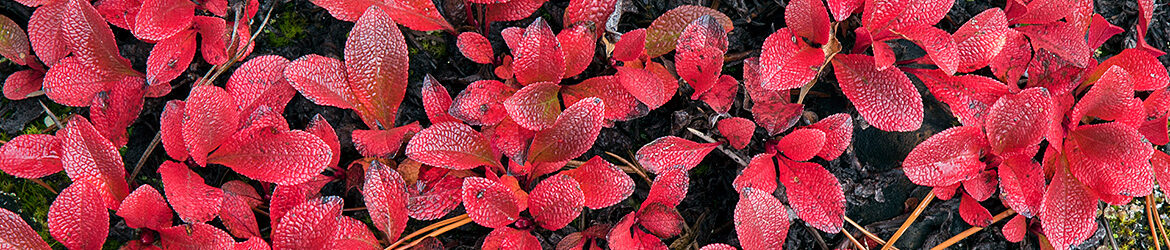
Sometimes cloudy can be best. Midday light on a sunny day is usually too harsh with dark shadows and overly bright highlights. But cloudy weather brings the possibility of getting great images at any time of day. Clouds act like a giant soft box, softening the shadows and highlights and allowing you to capture more detail. A cloudy day is usually the ideal time to photograph birds in trees. On a sunny day, dappled light comes through the forest canopy, whereas the light is more even when it’s cloudy. For bright sunny afternoons in summer, we recommend sitting in the shade and having a beer.
Err on the side of a fast shutter speed
Birds move around a lot, even when they seem to be sitting still. The most interesting images are of birds flying or exhibiting some type of behavior, making it even more challenging to get a sharp shot. As a general rule, we need a fairly fast shutter speed for birds to stop the action. Using a wide aperture on your lens, such as f 2.8 or f 4, certainly helps. Another way to achieve this is to increase the ISO to 800, 1000, 1600 and sometimes higher, which in turn allows a faster shutter speed.
Unfortunately, it’s not as simple as that because the down-side of high ISO is that more noise shows up in the image. Many newer cameras can handle high ISO remarkably well. However, not all cameras are the same. In most cases, photographers prefer a lower ISO whenever possible, which makes sense. But for birds it’s best to err on the side of a higher ISO to achieve a high enough shutter speed. Keep in mind that you can correct noise to an extent in processing, but there’s nothing you can do to correct an out of focus image.
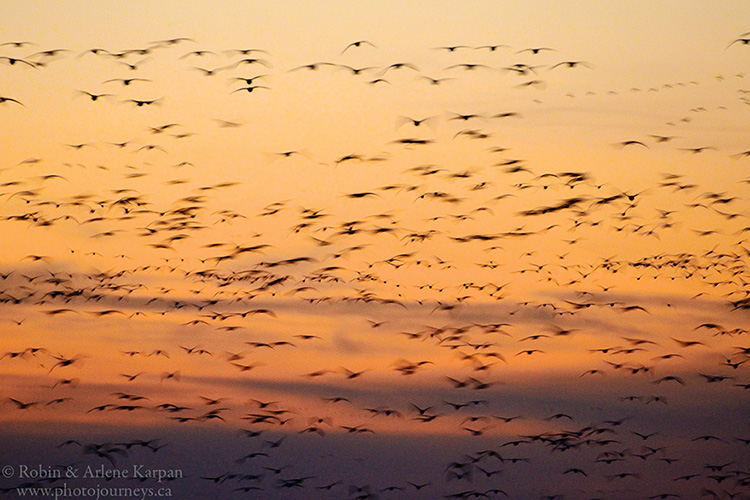
Slow down occasionally
Every rule has exceptions. While a sharp image is usually the goal, occasionally we may purposely use a slow shutter speed to slow movement. For example, it’s difficult to get a sharp image of a flock of birds flying against a dark, late evening sky. So if you can’t beat ‘em, join ‘em. An option is to slow down the shutter even more to capture a blur of wings, increasing the sense of movement. Whether or not shots like this work is usually a matter of personal preference, since it’s more a matter of artistic interpretation than a realistic representation.
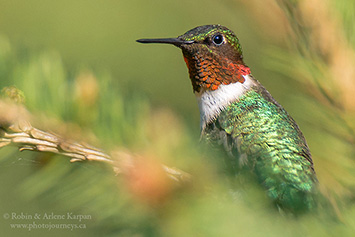
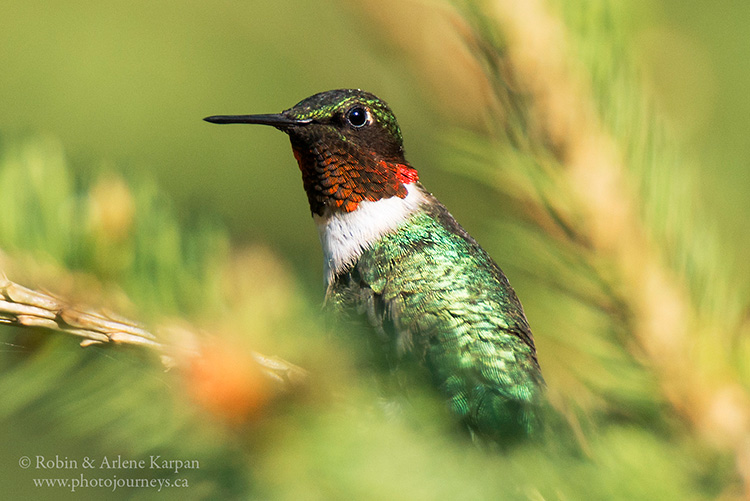
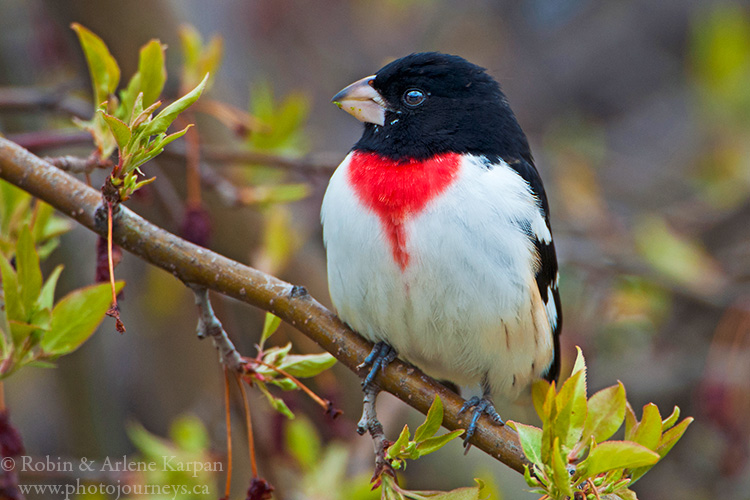
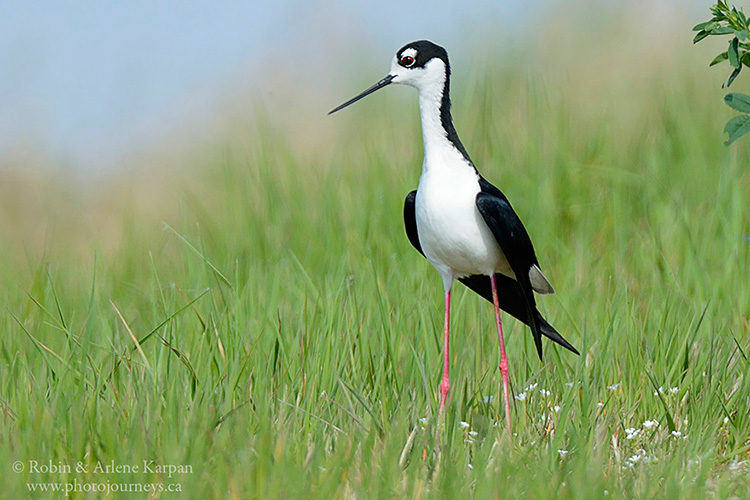
Look ‘em in the eye
For bird portraits or close-ups, pay special attention to the eyes. When it isn’t possible to have the entire bird in focus, concentrate on having at least one eye sharp. It’s generally considered acceptable to have a partially out of focus bird as long as the eye is sharp. In fact, photographers sometimes purposely use a shallow depth of field so only the bird’s head is in sharp focus. It all depends on the effect you’re trying to achieve.
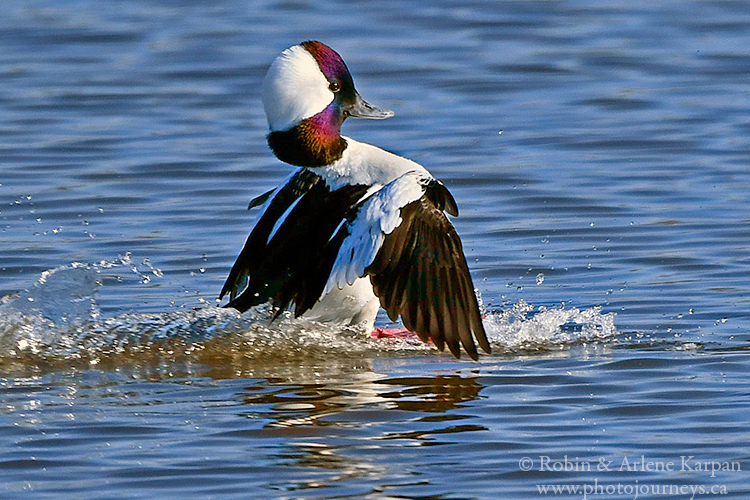
In wildlife photography, it’s usually best to try to get as close as possible to the same eye level as your subject, providing more of a personal connection. That’s easier for big critters that walk on the ground, but a lot more challenging for birds that could be flying, sitting in high branches, or on the water. For birds in trees, lower branches are preferable to higher branches. For birds on the ground or the water, you could sit or even lie on the ground if conditions permit. For really serious eye-level shots of swimming birds, a floating blind is ideal. However, this isn’t an “easy” technique and will be the subject of a future post.
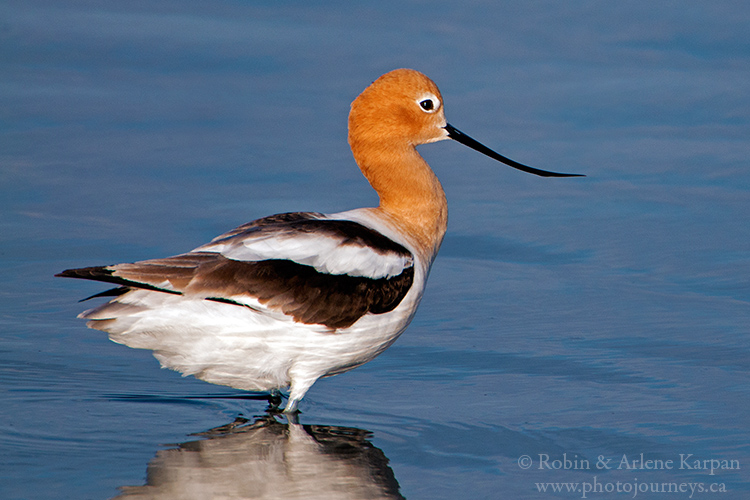
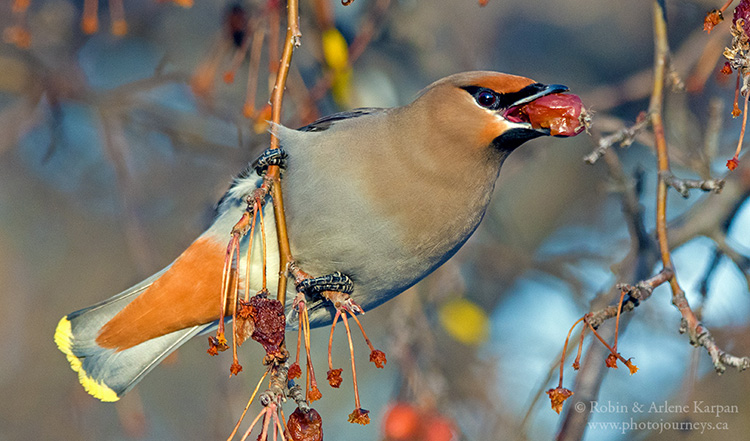
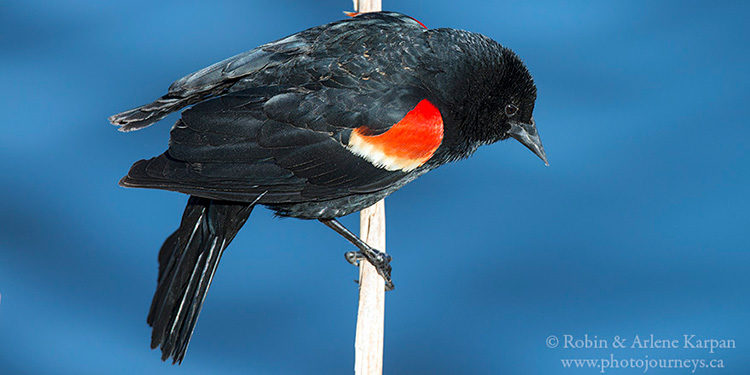
Isolate the bird from the background
Eliminating distracting backgrounds from any photo is always a good idea. That’s not always easy with birds since they go where they please without any regard for our photo compositions. Sometimes we can move the camera position. If a bird is sitting on a wire or a tree branch, see if you can move so that you photograph the bird against a blue sky or at least a background that isn’t busy looking.
If that isn’t possible, the other option is to try to control the depth of field so that only the bird is in focus. By using a wide aperture, such as f/2.8, f/4, or f/5.6, we might be able to have the bird in focus while throwing the background out of focus. Exactly what setting to use will depend on factors such as how close you are to the bird or how close the bird is to the background. While isolating the bird is great for a portrait shot, we may want a greater depth of field when we’re trying to show the bird in the context of its environment. It all depends on the purpose of the photo.
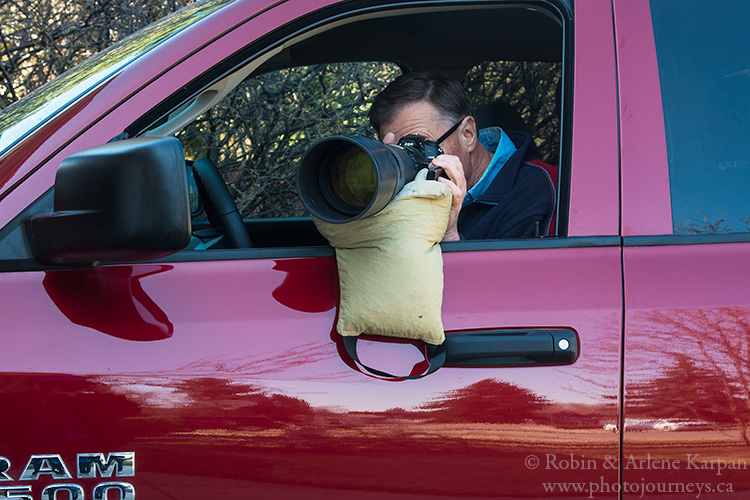
Use your car as a photography blind
Getting close enough to birds for photography, but not spooking them is a challenge. One of the easiest ways to overcome this is to use your car as a ready-made photography blind. If you drive beside a wetland full of birds and step out of the car, most will immediately scatter. But if you stay in your car, many birds will continue going about their business. They know you’re there, but they’re used to seeing cars going by, and this seems less threatening than a person out in the open. Using your car is so effective that we did a specific post called Use Your Car as a Photography Blind, including tips on ways to keep your camera and lens steady for sharp photos. We do a lot of bird photography this way, especially where we find wetlands or other bird habitats next to a road.

Be prepared
Photo opportunities can come and go quickly, so if we’re not ready the chance may be lost. While it isn’t possible to plan for every possibility, we can at least have our camera gear ready. When driving around, have your longest lens attached to your camera. That hawk sitting on the fence post you suddenly come across may not wait long enough for a lens change. On the other hand, if you come across a scene for a landscape shot, you do have time to change lenses and make other adjustments.
We often travel around with a default setting on the camera – usually around 800 ISO (often higher in low light), the telephoto lens set to its widest aperture, and the camera set to aperture priority. That way if we suddenly come across an interesting bird or another critter, the camera is ready to quickly grab and shoot without fiddling with a lot of settings. If the subject continues to cooperate, then we can make further adjustments to suit the scene.
Shoot in RAW
Assuming that your camera has a RAW mode, that’s always the preferred choice – for any type of photography. There is a long list of reasons to shoot in RAW, but the big one is the ability to recover shadow and highlight details. While we always strive for the ideal exposure right in the camera, photographing birds is often fast and furious, as your subject darts among a variety of light conditions. If you end up with a photo that is either under- or over-exposed, you have a significantly better chance of bringing back the detail to dark shadows or excessively bright highlights because a RAW file retains so much more detail than a JPG file. It’s not only the light conditions but the birds themselves, which may have bright white feathers and dark faces, for example, making it more challenging to have proper exposure on everything. A RAW file will retain a lot more of those subtle gradations of light and dark, making it easier to make needed adjustments while processing.
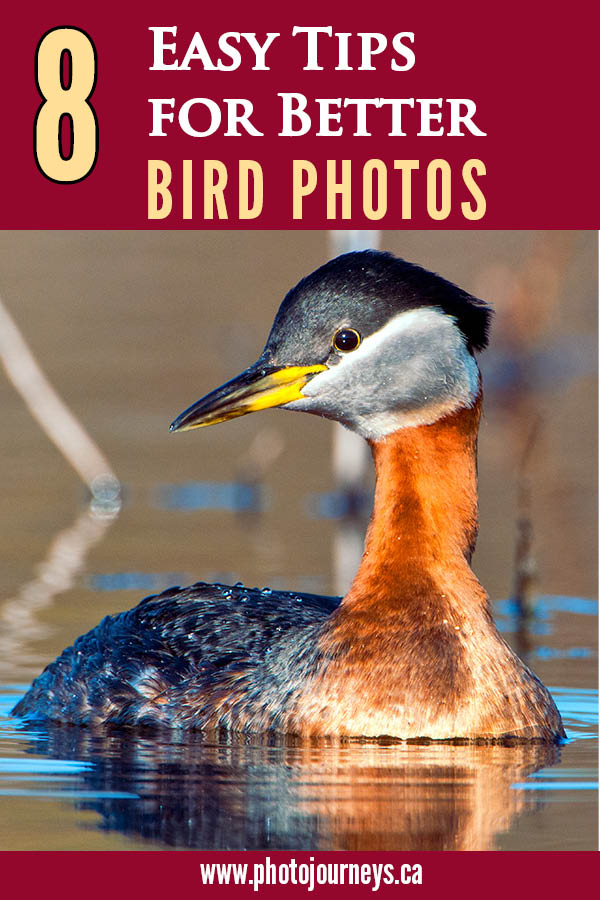
SUBSCRIBE to Photojourneys below
Feel free to PIN this article
Thank you for your tips.
Glad you found it useful Myrna.
Very useful tips. Thanks for sharing. It gets even more challenging when photographing birds in flight.
Thank you for your comments Rashmi.