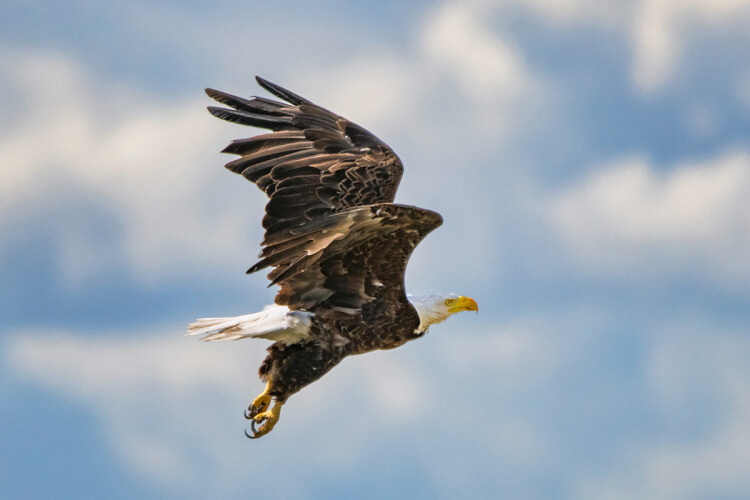
In wildlife photography, shutter speed becomes the most critical camera setting. It determines how long your shutter remains open allowing light to strike the sensor, controlling whether you want to freeze the action or have a feeling of motion in the image.
In landscape photography, on the other hand, the length of the exposure is usually less important than the aperture setting which determines the depth of field in the image. We tend to use lower ISO settings for landscapes which helps with image quality and minimizes noise. This in turn requires a slower shutter speed which usually isn’t an issue. Put your camera on a tripod and there is almost no limit to how slow the shutter can be.
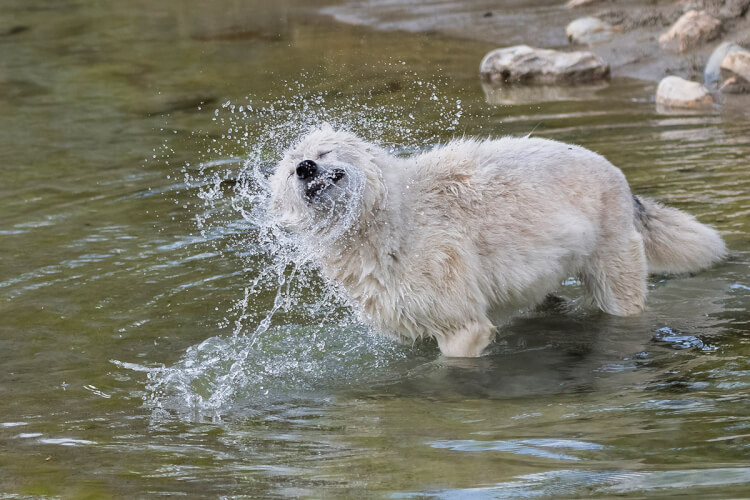
However, wildlife seldom stays still for long. Most often (though not always), we need a fairly fast shutter speed, which means that light enters the camera for a shorter period. To compensate for that lost light, there are only two options – open the aperture wider or increase the ISO setting.
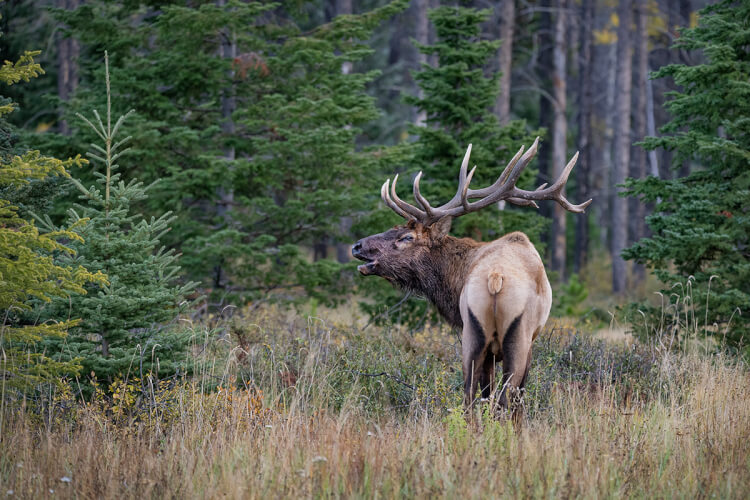
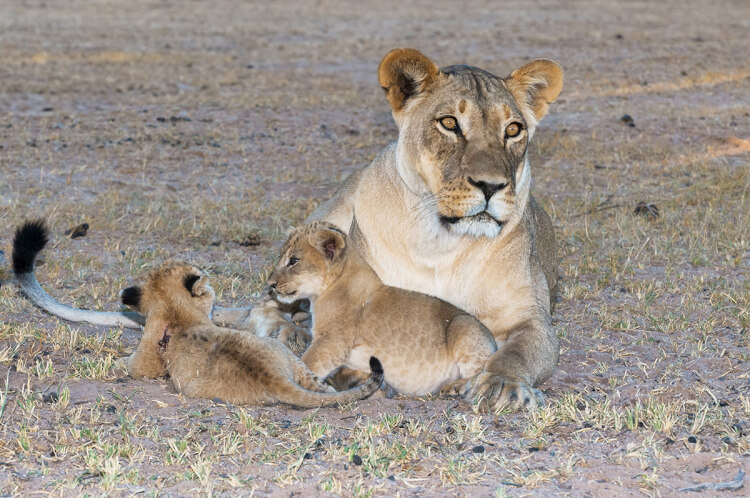
In most cases, we will already have the aperture wide open because we usually want to isolate the animal with a narrow depth of field (although there are occasionally exceptions to this, such as with the lion photo below). That means that the only other alternative is to crank up the ISO. For a refresher on how shutter speed, aperture, and ISO work together, see this posting Take Control of Camera Settings for Better Travel Photos.
In bright conditions, it is usually possible to have a fast shutter speed of 1/2000 sec. or even a lot faster, and still have an ISO that isn’t too high. But in lower light, it might mean that the ISO might be 1000, 2000, or even higher. Here’s where it gets tricky. Modern full-frame cameras can handle high ISO settings with fewer problems, while with older or smaller cameras the image will degrade and show a lot more noise if the ISO setting becomes too high.
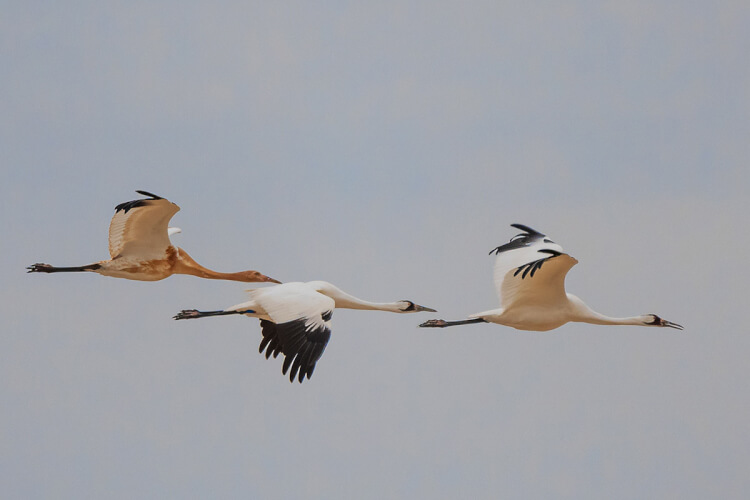
To determine how your camera reacts, take a series of photos of the same subject, but each time increase the ISO setting. Then look to see how far you can push it and still get acceptable results. We always recommend erring on the side of a faster shutter speed, even if it means increased noise. We can decrease the noise using software, but there is no way to save a photo that is blurry because the shutter speed was too slow.
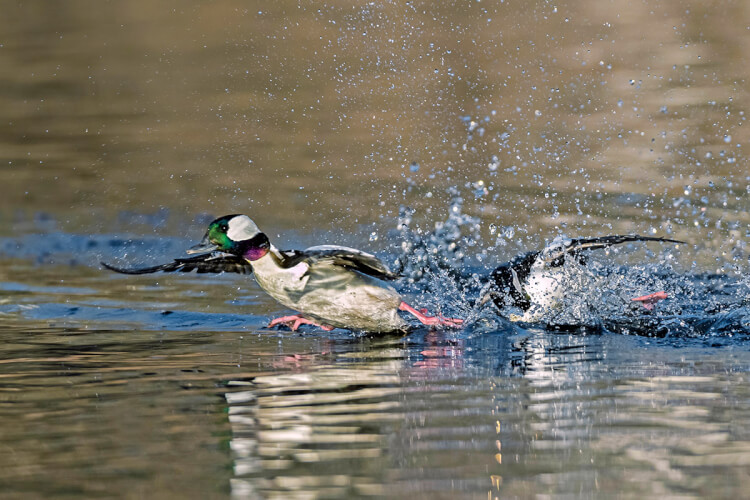
How fast is fast enough?
There is no precise answer since each situation will vary. For animals that are resting or just standing in one spot, we can get away with a fairly low speed if low light conditions demand. We have taken some shots as slow as 1/30 sec. but somewhere in the 1/100 – 1/500 sec. range would be safer if light conditions allow.
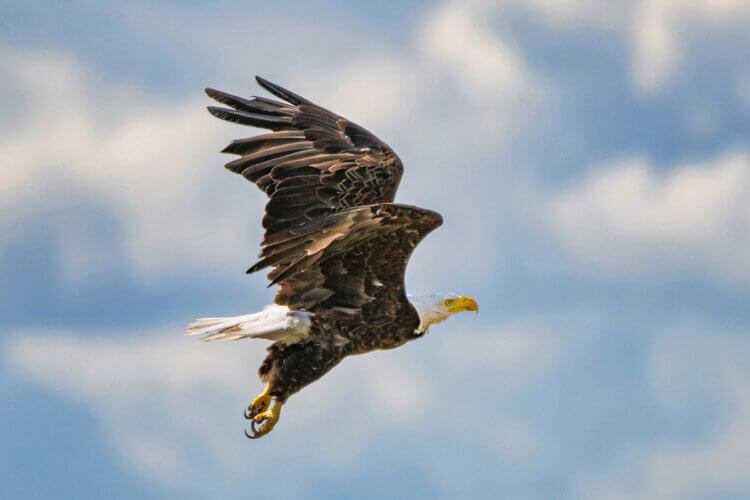
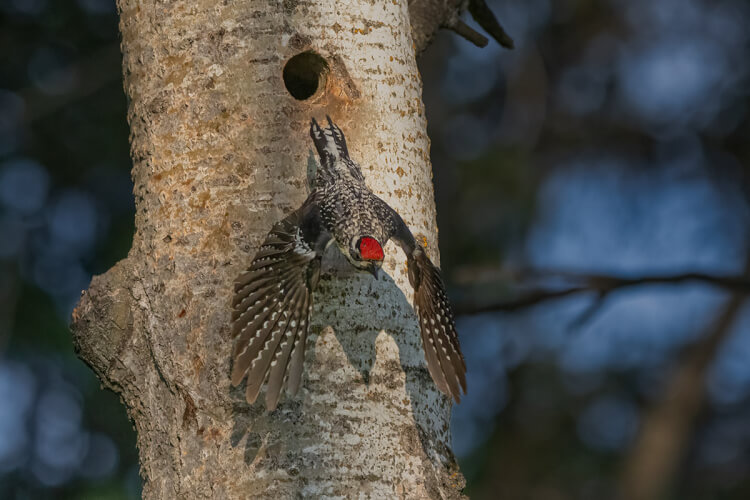
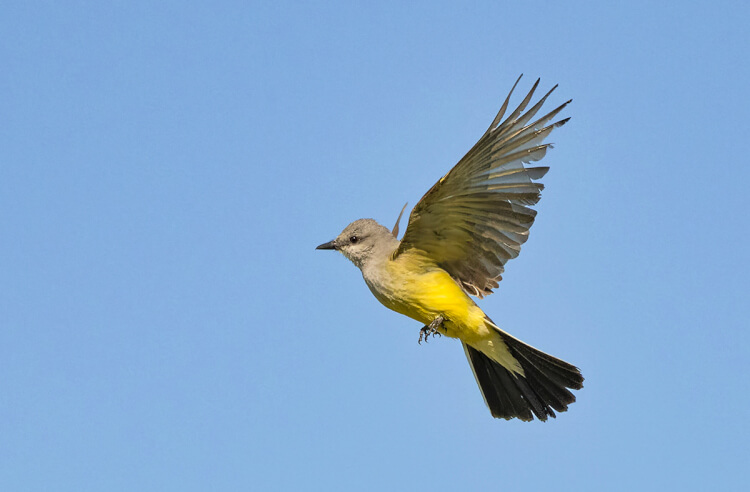
For walking animals, aim for a minimum speed of at least 1/500 sec. and well over 1/1000 sec. for running animals. Flying birds need the fastest speeds, especially small fast birds; try 1/3000 – 1/4000 sec. and occasionally higher. We usually stay at a fast speed for perching birds as well because birds only perch for so long before taking off again, and it’s best to be ready when this happens.
It’s not just the movement of the animal to consider but also the movement of the photographer, especially when hand-holding a camera and long lens. A 200mm lens will be easier to hold steady than a 600mm, and each of us varies as to how steady a hand we have.
Slow down occasionally
Faster is usually better when photographing wildlife, but not always. Sometimes we want to show a sense of movement rather than have a completely sharp photo. The next photo is a compromise between sharpness and showing some movement. The male ruffed grouse has a fascinating display called drumming to try to attract a mate and establish territory. He beats his wings rapidly which makes a drumming sound, but even with all that movement, his head stays remarkably still. So a relatively slow shutter speed of 1/400 sec. was enough to keep his head in focus but slow enough to show a bit of movement in his rapidly flapping wings.
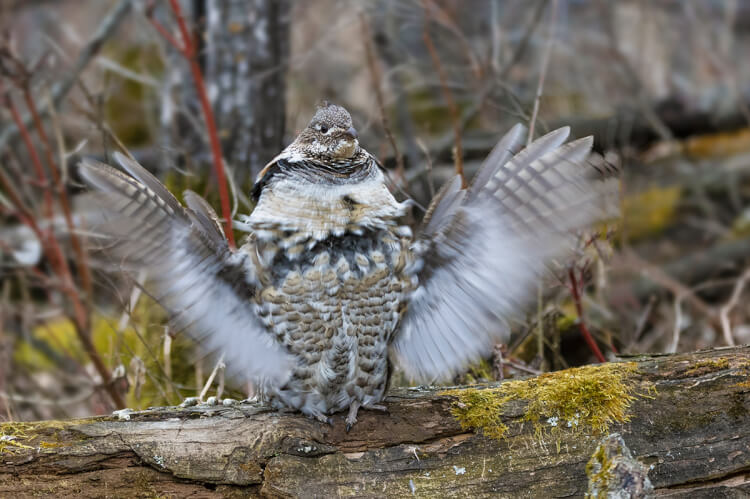
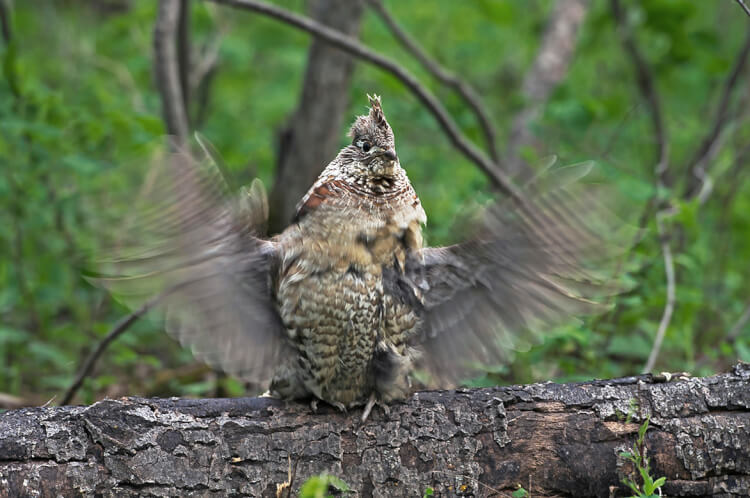
The second photo of a ruffed grouse, taken at a different time, had a shutter speed of only 1/100 sec. The light conditions were considerably darker, yet 1/100 sec. was enough to keep the bird’s head quite sharp while giving more of a blur to the wings. Both photos were taken using a tripod which helped to keep the bird’s head stable. It would be difficult to say that one photo was more “correct” than the other. It’s all a matter of personal preference.
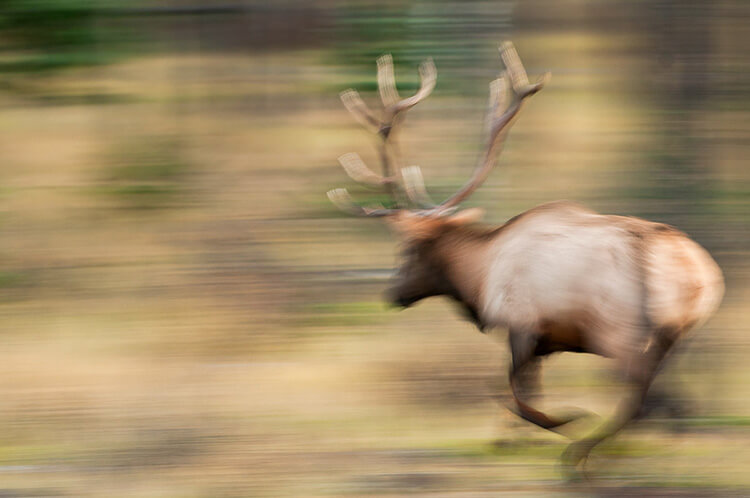
Another circumstance where a slower speed might be preferable is for panning where you follow the movement of the animal while taking the photo. A fast exposure would simply stop the action, while a longer exposure gives more of a sense of movement.
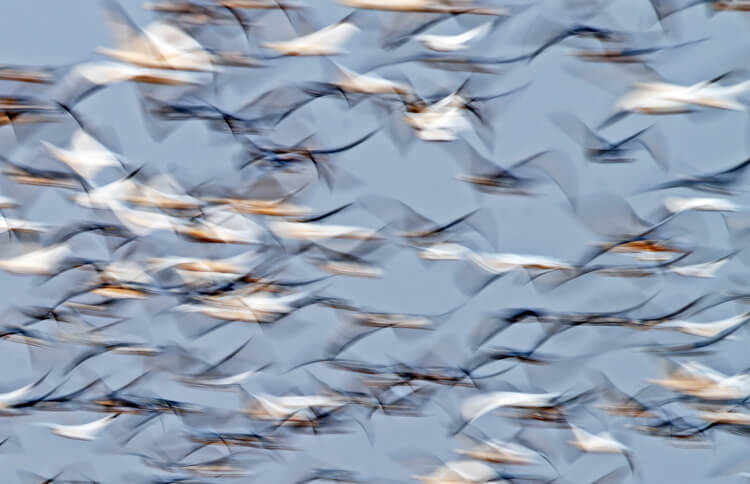
Then there is the option of purposely making a blurry photo. In this case, the goal isn’t to have realistic photos that are tack sharp, but rather more impressionistic interpretations of the scene which emphasizes the sense of movement. The following photo of flying snow geese had a fairly long shutter speed of 1/13 sec. Light conditions were fairly bright so to achieve a shutter speed that slow it was necessary to set the ISO to its lowest setting of 64 and close the aperture to f/18.
Other photography articles you might enjoy
SUBSCRIBE to Photojourneys below
Feel free to PIN this article on Shutter Speed for Wildlife Photography
