When taking photos, you can either rely on auto settings and let the camera make decisions, or take control and make more of those decisions yourself. No matter how technically advanced a camera may be, it doesn’t know what effect you are after in your image, or your artistic vision for the shot.
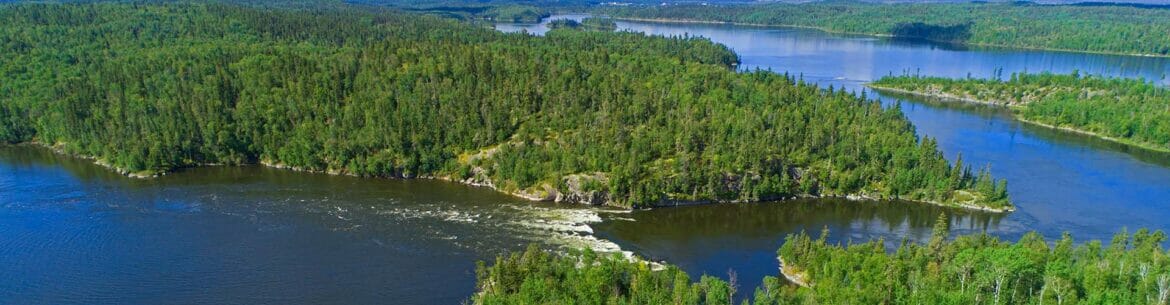
When you take a landscape photo, the camera doesn’t know if your vision is to show a grand scene or to draw attention to a particular feature in the scene. By taking control of exposure settings, you have the potential to dramatically improve the quality of your images both technically and artistically.
The Exposure Triangle
We can control exposure in three ways – shutter speed, aperture, and ISO – often referred to as the Exposure Triangle. The decisions we make in lowering one and increasing another, while still retaining a properly exposed image, can make a big difference in the look of our images. This starts with a basic understanding of what each does, and how we can make them work together to improve our results.
▸Shutter speed
This is simply the amount of time that the shutter stays open to let light into the camera, such as 1/15 sec. or 1/250 sec. Most newer DSLR cameras have shutter settings from as long as 30 sec. to as short as 1/8000 sec., although this varies. Each full “stop” of light on the scale means a doubling or halving of the amount of light that reaches the camera sensor – for example, 1/30 sec. lets in twice as much light as 1/60 sec., 1/60 sec. lets in twice as much light as 1/125 sec., etc. Most cameras also allow adjustments in half stops or third stops for fine-tuning your exposure.
The first consideration in choosing shutter speed is making it fast enough to avoid camera shake to ensure a sharp photo. A long-held rule-of-thumb is that when you are hand-holding a camera, you should use a shutter speed that is faster than the focal length of your lens. For example, with a 50 mm lens you should shoot 1/50 sec. or faster, and with a 500 mm lens, 1/500 sec. or faster.
A lens with image stabilization allows you to get away with a bit slower speed, sometimes two or three stops slower. Of course, not all of us are equal in how steady we can hold cameras, plus the size and weight of cameras and lenses vary as well, which has a bearing on how easy they are to hand-hold. So this shouldn’t be taken as a rule, but rather as a rough guideline.

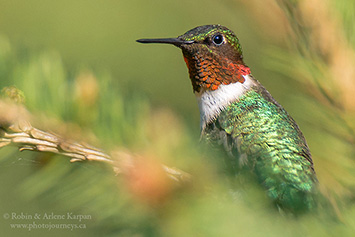
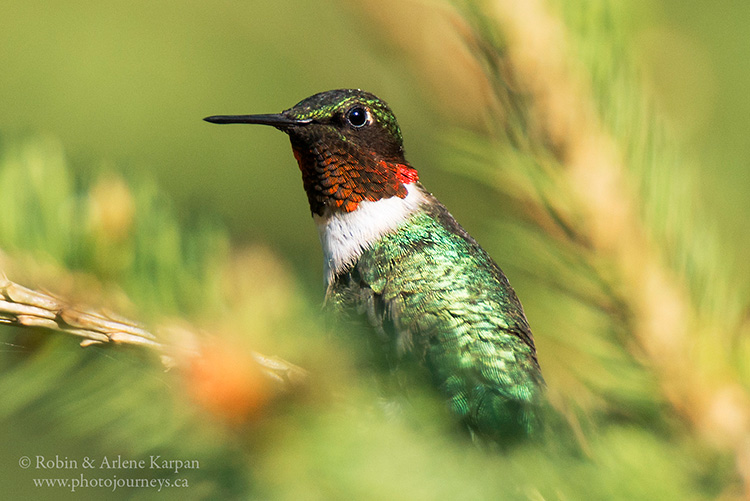
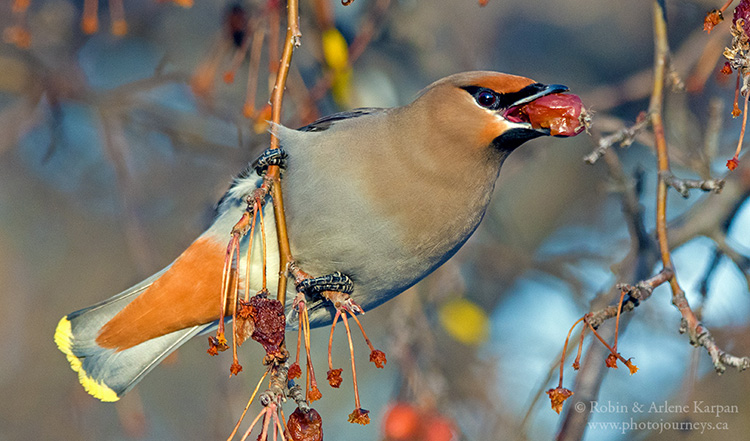
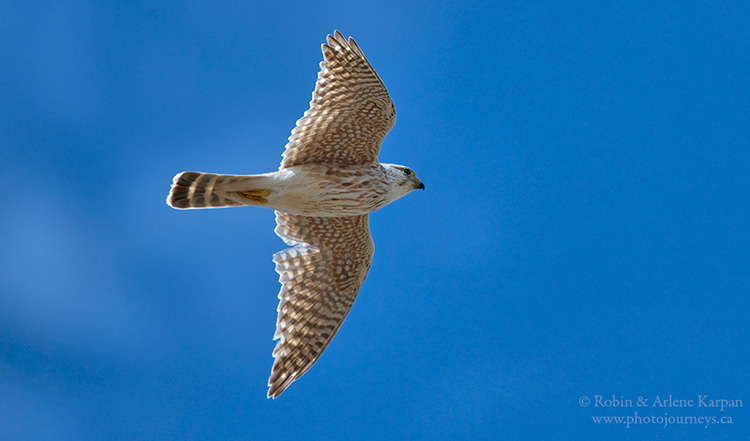
The other consideration is making the shutter fast enough to keep your subject in focus. When taking a photo of a landscape, this usually isn’t a major concern, but it can be a significant issue when photographing wildlife. Birds move a lot, even when they seem to be sitting still, so it is generally best to choose a faster speed. For birds in flight or other types of action, a significantly higher speed is usually necessary, such as 1/1000 sec., 1/2500 sec., or even faster.
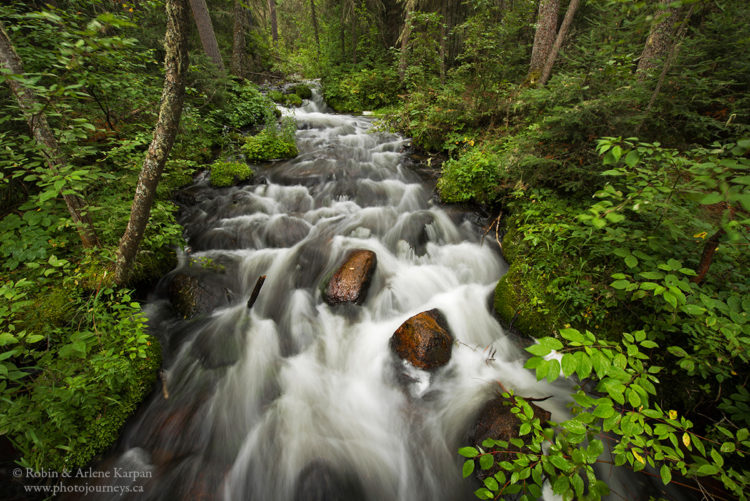
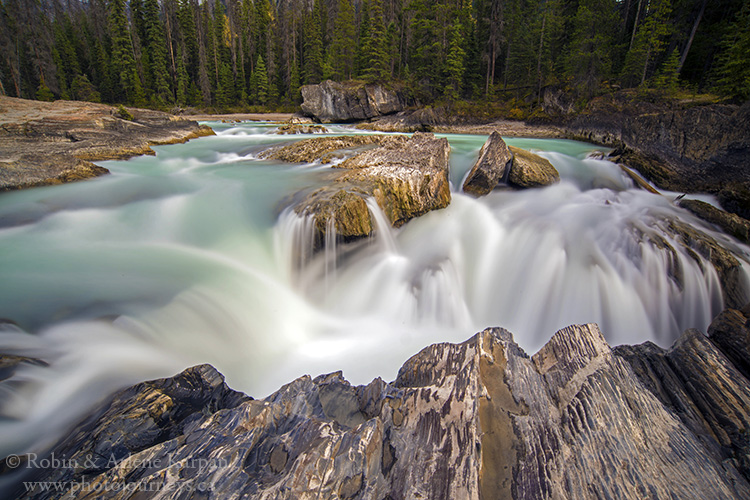
Sometimes we may want to purposely have a slower shutter speed to show movement. A good example is when we want a silky effect in waterfalls and other flowing water. Usually 1/15 sec. or slower is necessary, although this can vary depending on water flow and light conditions. In these cases, using a tripod is best, and essential for very slow speeds. While we want to show movement in the water, we still want the surrounding terrain to be in sharp focus.
▸Aperture
This is how wide the lens opens to let in light. It too is measured in stops of light along a scale – f/1.4, f/2, f/2.8, f/4, f/5.6, f/8, f/11, f/16, f/22, f/32. In between are 1/2 or 1/3 stop settings such as f/1.2, f/6.3, or f/7.1. Contrary to what might seem logical at first, a smaller number means a bigger opening, so an aperture of f/2.8 lets in a lot more light than an aperture of f/22, for example. Lenses vary as to how wide an aperture they have available, with some at f/2.8, f/4, or f/5.6, for example.
The aperture setting determines the depth of field – the amount of the image from front to back that will be in focus. Let’s say that we have a photo in mind that has a clump of wildflowers in the near foreground, a meadow in the middle, then a mountain in the background. To get everything in focus, we need a small aperture opening, such as f/16 or f/22, which will maximize the depth of field. On the other hand, if a flower is the main subject, and the background is non-descript or messy-looking, we may want to zoom in and limit the depth of field to only the flower, throwing the background out of focus. In that case we would opt for a wider aperture.

A narrow depth of field, often using the widest available f-stop, such as f/2.8, f/4, or f/5.6 is often used for bird photography. This not only narrows the depth of field so that the bird stands out from the background, but also allows a faster shutter speed to help stop the motion. If the camera is set on aperture priority, a change in the aperture setting will automatically make the necessary change to the shutter speed to retain a proper exposure.

▸ISO
Digital cameras have a range of ISO settings, usually starting at around 64 or 100 and going to 6400 or higher (different cameras may have different ranges and some don’t go as high or as low). Each change is a stop of light. The ISO (which stands for International Organization for Standardization) controls the camera’s sensitivity to light. A setting with a high ISO number makes your photo lighter while a low number makes it darker.
Back in the film days, a roll of film had a specific ISO (or ASA as it was also referred to). Once the film was in the camera, we only had the aperture and shutter speed to deal with. With digital we can change the ISO as much as we want, even from one frame to the next, making it extremely useful in helping us achieve the results we’re after. But when we change the ISO, we have to make a corresponding change to either the aperture or shutter speed to retain the proper exposure.
Altering the exposure mix
So how do we use this to our advantage? Let’s say that we come across an attractive landscape in fairly low light but don’t have a tripod. We could increase the ISO setting to allow for a fast enough shutter speed to minimize camera shake and a wide enough aperture for sufficient depth of field in the scene. To photograph a flying bird, increasing the ISO setting allows a fast shutter speed which increases the chance of getting a sharp image.
There are trade-offs, however. The more you increase the ISO, the more noise or graininess shows up in your images. A slight change such as from ISO 100 to 200, or even to 400 in some cameras, might be barely noticeable, but big changes definitely will be. So it’s best to use a low ISO whenever possible. For a landscape shot where nothing is moving, and you have a tripod, the camera’s lowest ISO is always best. That means that you will end up with a considerably slower shutter speed, but because the camera is solidly on a tripod, camera shake won’t be an issue, making a long shutter speed perfectly acceptable.
But don’t be afraid of cranking up the ISO when it’s necessary, such as hand-holding in low light or action shots. A noisy photo is preferable to a blurry photo. We can decrease the noise using Photoshop, Lightroom, or other software, but there’s nothing we can do about a blurry photo.
ISO is the one point in the exposure triangle where the type of camera may make a difference. An aperture or shutter setting will behave exactly the same way if you have Nikon, Canon, high-end DSLR, simple point-and-shoot, whatever. Not so with ISO because cameras vary as to how well they handle noise. For example, many newer high-end DSLRs are considerably less noisy at higher ISO settings than cheaper or older cameras. Do this simple test for your camera. Take a series of photos of exactly the same scene, but each time increase the ISO setting by one stop. Once you compare the photos, you can decide the extent to which you can increase the ISO setting and still get acceptable results.
Using a tripod expands our choices
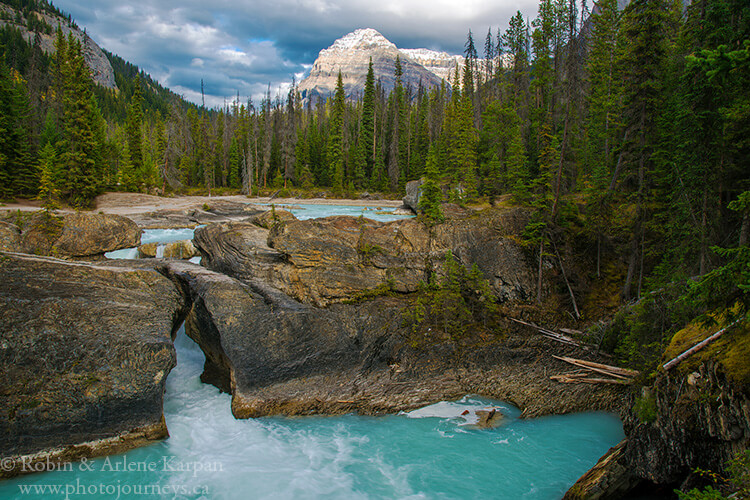
The best bet is to use a tripod whenever possible. That is especially true in landscape shots where we can set the camera to its base (lowest) ISO, giving us the best chance at a noise-free image. For the following photo of Yoho’s Natural Bridge, the low ISO setting of 64 meant that we didn’t have to worry about noise in the image, and the aperture of f/16 meant a good depth of field throughout the frame. A fairly slow shutter speed of 1/20 sec. was required, which wasn’t a problem because the camera was solidly on a tripod.
Each situation might call for different choices in how we mix the aperture, shutter, and ISO settings. Always start with your artistic vision for the photo and decide what it is that you want to achieve. Do you want to stop the action, or give a sense of movement? Is it the grand vista that’s important, or a specific element in the scene? Once you decide on the effect you’re after, look for the combination of settings that will help you achieve it.
SUBSCRIBE to Photojourneys below
Feel free to PIN this article on Taking Control of Camera Settings
Fantastic info and pix omg !! Stunning
Thanks Mickey. We’re glad you enjoyed the post.