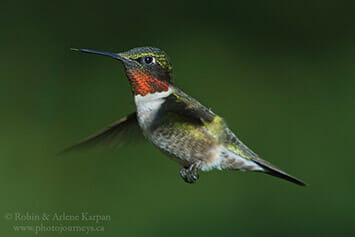

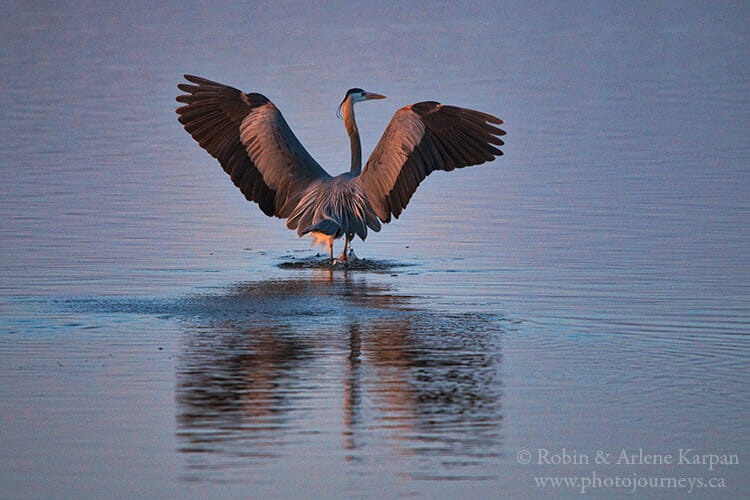
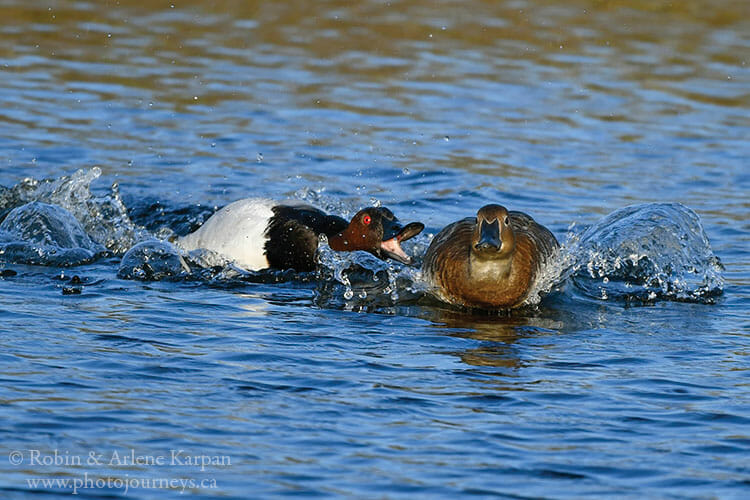
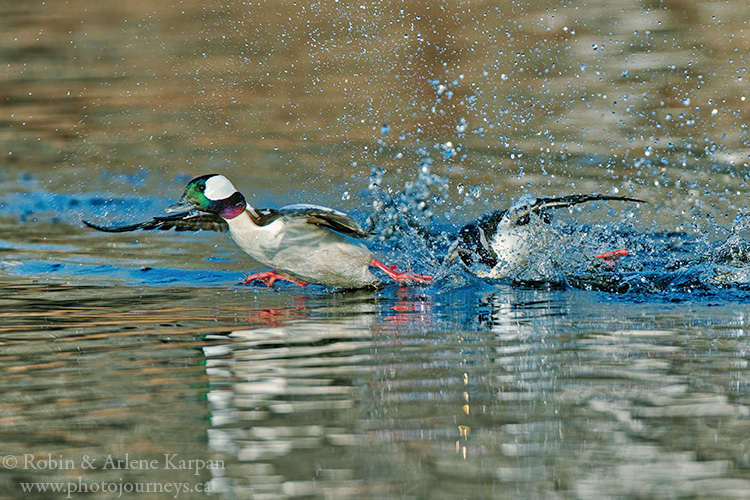
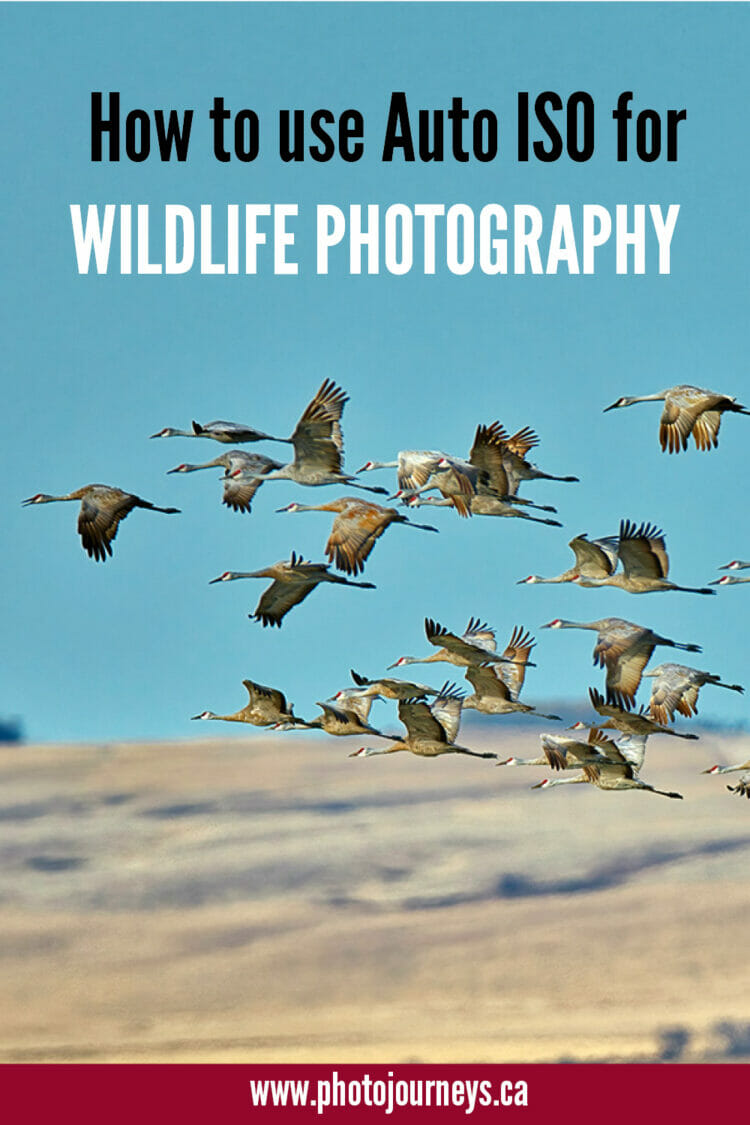
We have become increasingly reliant on the “Manual Mode + Auto ISO” method for photographing wildlife, especially for flying birds or for other situations where the action happens quickly, or when the subject is moving among different light conditions.
In any type of photography, the more control we have over the camera, the better chances we have of getting the shot we want. For most cameras, these are typically the range of options we have to maintain control:
Manual Mode
This gives us maximum control. We decide on the most appropriate shutter speed, aperture setting (or f-stop), and the ISO setting. The downside with a completely manual approach is that by the time we fiddle with all the settings, the critter we’re trying to photograph may be long gone.
Auto or Program Mode
In Auto the camera makes all the setting decisions, and in Program Mode we may have some control but most decisions are still made by the camera. This is great from an action standpoint – you concentrate on focus and composition while the camera automatically alters settings according to light conditions as a bird flies around, for example. The downside is that we lose artistic control. The camera may do fine in making technical decisions to get a properly exposed image, but it doesn’t know what your artistic vision is for the shot. It doesn’t know, for example, if you want a fast shutter speed to stop the wings on a flying bird or if you want a bit of blur in the wings to give a sense of movement. It doesn’t know if you want a shallow depth of field so that a deer stands out from the background or a wider depth of field to capture a group of deer standing together.
Shutter Priority
For this mode, we set the shutter speed and ISO, then let the camera adjust the aperture to suit light conditions. At first glance this seems to make sense because we can be assured of a fast enough shutter speed for action shots. However, for most wildlife shots we also want a shallow depth of field so that the subject stands out from the background. For example, let’s say that you’re photographing a bird in the shade of the forest. Shutter priority may work fine here because the camera will likely have to open the aperture quite wide to let in enough light. But if that bird suddenly flies out of the shade and lands on a branch in bright sunlight, the camera will have to close the aperture significantly. This will result in a wider depth of field, with less or no separation between the bird and the trees in the background.
Aperture Priority
Here we lock in the aperture setting and the ISO, and let the camera automatically alter the shutter speed according to light conditions. This has long been the go-to mode for many wildlife photographers. In most (though not all) cases, we want a shallow depth of field so that our subject is in focus but the background becomes blurry, making the subject stand out. To achieve this we set the aperture to its widest or near widest opening. Since the aperture is wide and letting in a lot of light, the camera has to speed up the shutter (letting in less light) to compensate for this.
This usually results in the best of both worlds, since we also need a fast shutter speed to stop the action for birds in flight or when an animal is moving around a lot. A downside is that the camera is constrained by whatever ISO we chose. We can certainly change the ISO, but can we do it quickly enough when the action is fast and furious?
Manual Mode + Auto ISO
To get a proper exposure, we have three variables to work with – aperture opening, shutter speed and ISO – often referred to as the exposure triangle. Change one, and at least one of the others has to change to compensate. In this method, we keep complete control of the two variables that provide us with the most artistic choices – aperture and shutter speed – by using manual mode. But unlike a fully manual mode where we have to continually fiddle with settings to compensate for changing light conditions, here we use Auto ISO, so that the camera automatically changes the ISO according to changing light conditions. Part of the theory here is that ISO is the least creative part of the exposure triangle, so that’s why we leave that part of the decision-making to the camera.
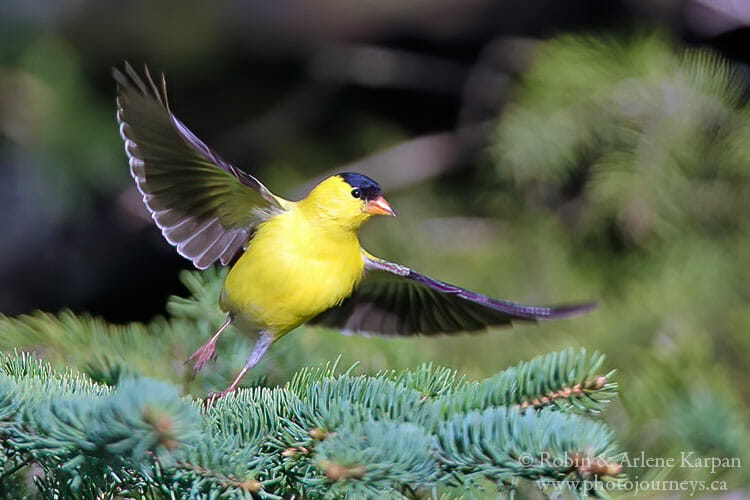
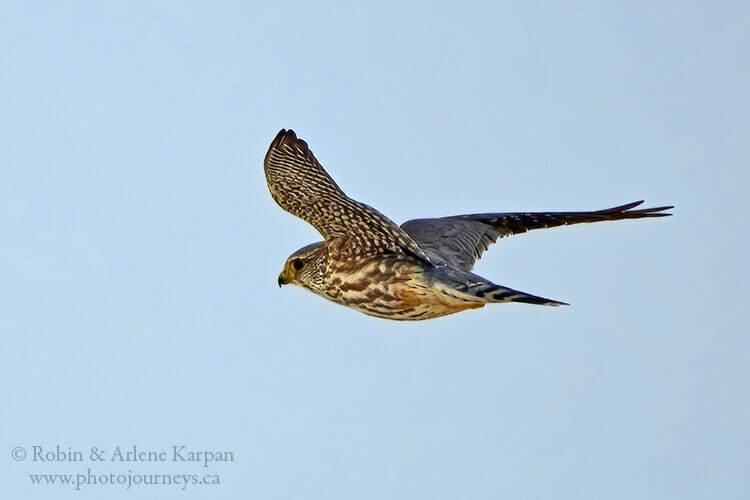
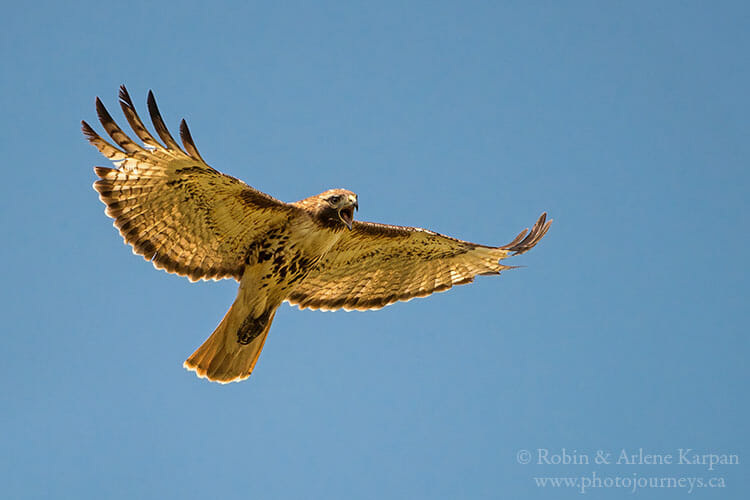
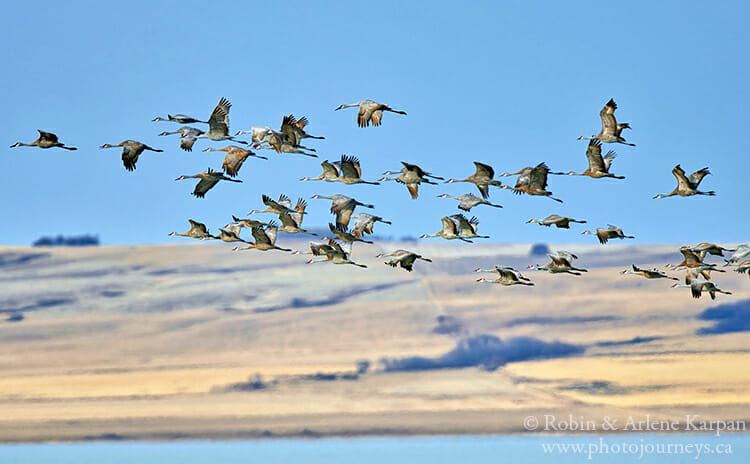
In most situations, we want a fairly wide aperture setting to provide separation between the subject and background with a shallow depth of field. Where to set the shutter speed depends on the light and other conditions. We find this method most useful for photographing flying birds, where we know that a fast shutter speed will be essential. Depending on the light, a good starting point for action is between a 1/800 and 1/4000 shutter speed. The faster the speed, the better chance of getting a sharp image. On a sunny day, even a fairly fast shutter speed will result in the camera using a fairly low ISO. If the bird suddenly flies into the shade, or a cloud comes by, the camera will compensate by increasing the ISO, while leaving you free to shoot at a fast shutter speed.
Of course there are some downsides to this as well. A fast shutter speed in darker conditions may result in a fairly high ISO, and as a consequence could have lots of noise (or graininess) in the image. How high is too high for ISO will depend on the camera. Many modern cameras can go well over 1000 ISO and still get acceptable images, while in some cameras the noise can get quite bad after 400 or 640 ISO. You can test your camera by a taking a series of shots at different ISO settings and determining at what point the noise becomes so bad that the image is no longer acceptable.
The way we look at it is that if we have to choose between an image with some noise because the ISO was high, and an image that is blurry because the shutter speed wasn’t fast enough, noise is certainly the lesser of evils. Various processing programs allow you to decrease a lot of the noise. On the other hand, there is no saving a blurry photo.
The other benefit of this method is that for most cameras the shutter speed is fairly quick to change. On our Nikon cameras, for example, the shutter is controlled by a wheel right behind the shutter button, so a quick turn of the wheel with the thumb can increase or decrease the shutter speed without looking away from the viewfinder. In the case of the bird flying between bright sun and a dark setting, it’s quicker to turn the wheel to increase the shutter speed (and consequently get a lower ISO) than it is to change the ISO in one of the other shooting modes.
No one shooting method is perfect for all conditions, but we’ve managed to get more “keepers” by using the Manual Mode + Auto ISO option when photographing flying birds and other active wildlife.
SUBSCRIBE to Photojourneys below
Feel free to PIN this article
Dear Robin and Arlene,
I enjoyed reading it and I appreciate your honesty and willingness to share all your settings.
I learned a lot.
I get a lot of noise & under exposed images when I use auto iso for birds in flight against a blue sky on a well lit day. The images come out almost pixelated and dark despite the auto iso. I am typically shooting as fast as my lens can go 6.3 with 1/2000 shutter speeds on large raptors, image stabilization on and from a tripod. I understand with center metering the camera should adjust for the subject relative to the amount of background better but still can’t figure out why with auto ISO i am still under exposing..
Hi Joseph. The most likely cause for getting under-exposed images for birds in flight against the sky is that the camera is evaluating the entire frame and tries to come up with an average exposure for the entire scene. Large raptors are generally fairly dark. When you photograph them against a bright sky, the bird usually takes up a smaller part of the frame than does the sky (unless you are able to get a frame-filling shot of the bird). So the camera gets fooled into thinking that the image is too bright and compensates by letting in less light, resulting in an under-exposed bird. I see that you have already tried centre-weighted metering which should help somewhat. If you find that this issue is occurring consistently, the easiest solution would be to add some exposure compensation. How much will depend on how dark the photos are. A good place to start might be add a full stop of exposure compensation and adjust the amount from there. Whenever a high ISO is used, noise is usually inevitable. The best we can do in such cases is to use noise-reducing software.
Thank you both for the great tips! I just got a new camera + lens and started using manual mode with auto ISO. Would you recommend bracketing the ISO. From what I’ve read 200-1000 is a good range for clear days, but higher might be necessary in darker conditions. Your thoughts?
Thanks for your comment Carlos. Bracketing the ISO is certainly an option as well. Yes, as a general rule we want to keep the ISO lower when there is lots of light. But the main advantage of using auto ISO is that we don’t have to worry about the setting because the camera will make the ISO adjustment based on light conditons. In this case, we are mainly concerned about setting a fast enough shutter setting so that moving wildlife will remain as sharp as possible, so if a bird flies into shade it will automatically set the ISO higher to compensate and it fit then flies into sun it will adjust the ISO lower. About the only time that we use auto ISO is for wildlife.