
Advance planning helps us to get more out of our travel photography. Here we won’t be looking at the technicalities of taking photos but rather at planning tools we can use and things to think about before even leaving home.
1 Resist the urge to schedule too much
While travelling, most of us try to do too much. We read about all the cool places at the destination and come up with a long list of must-visits and must-dos. If you’re mainly interested in sightseeing and are content with snapping the occasional photo, packing in as much as possible might make perfect sense. But if photography is a priority, it’s usually best to slow down and take more time. Visit fewer places but allow enough time to do them justice. It’s a more enjoyable way to travel as well. We would rather come back from a trip with a few super shots than a whole bunch of mediocre ones.
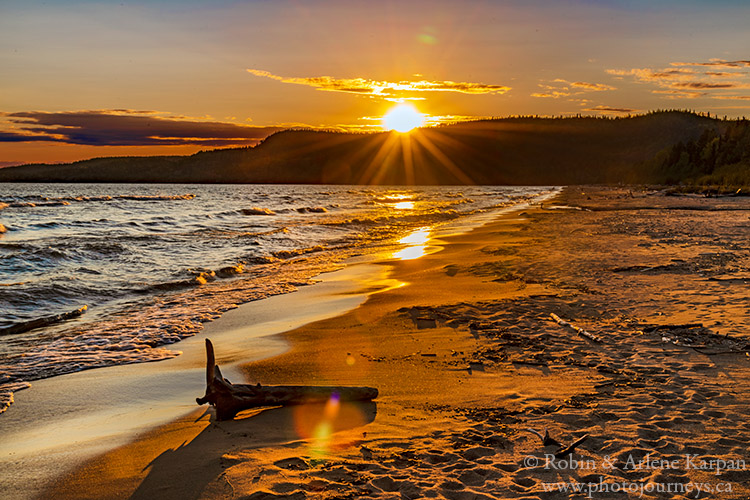
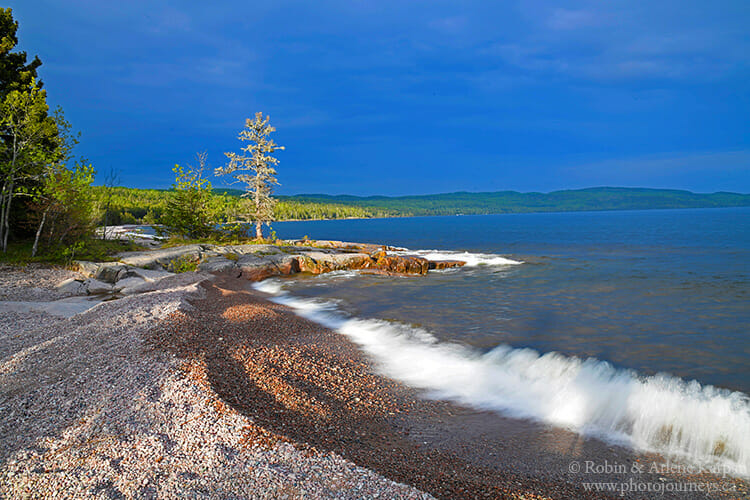
A landscape photo during midday light documents where you were, but seldom will it compare with what you can get during the golden hours just after sunrise or just before sunset. We will often use midday to scout locations for the best vantage points, then come back when the light is best. With sufficient time in one place, we can revisit a spot if the weather didn’t cooperate at first.

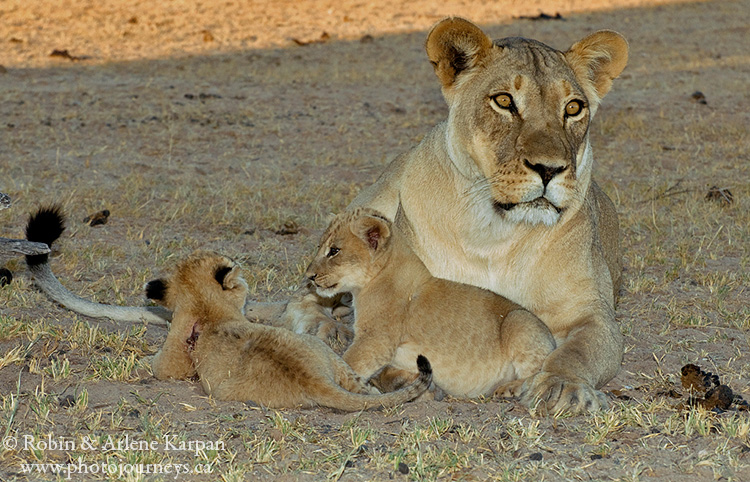
Nowhere is the “spend more time” mantra more important than for wildlife photography. This is the most difficult aspect of travel photography to plan for since the critters set the agenda. Even in famous African wildlife parks, every day is different. One day could be almost non-stop action while the next day very little could happen. The more time you spend, the better the chances of hitting those extraordinary days.
2 Pack the appropriate amount of camera gear
While this seems almost too obvious to state, it’s easier said than done because the appropriate amount of gear will depend on the trip. Here too, there’s the temptation to take too much, to throw in that extra lens “just in case”. We pack the most gear when we’re doing a road trip in our own vehicle. We usually assume that we’ll be photographing everything from wildlife to landscapes to nightscapes, so we tend to take a lot of stuff. If we don’t use that “just in case” lens, it’s no big deal.
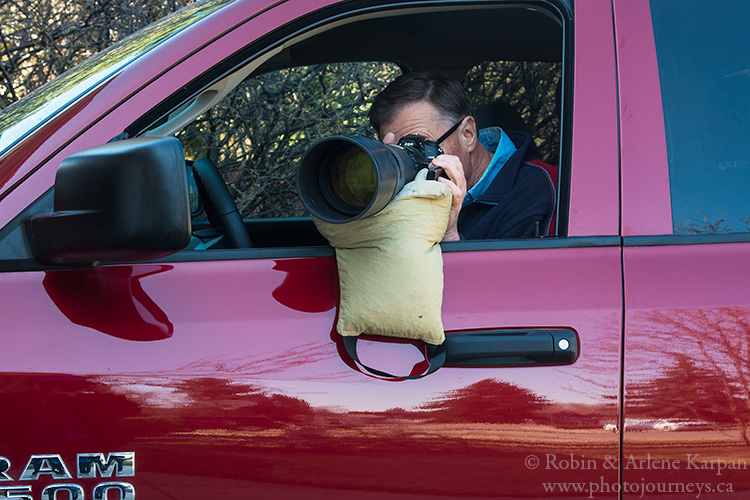
Travelling by plane takes more planning. For us, the most challenging trips to plan for have been to African wildlife parks. This involved taking long telephoto lenses that are bulky and heavy. The issue isn’t travelling around once there, since we had a rental car, but rather airline luggage restrictions. We like to take as much photo gear as possible as carry-on, especially the cameras and most valuable lenses. Often we have to make compromises because of airline carry-on limits. So an important part of planning is knowing in advance what those restrictions are so that you’re not left scrambling at the airport.
When we travel by plane then use public transport at our destination, the photo gear gets pared down significantly since we have to carry everything. If it’s a place where the chances of finding wildlife are not great, we may not take long telephotos, for example. On a hiking trip, the gear gets thinned out to the bare minimum – no “just in case” lenses here.
There is no one-size-fits-all as to what to pack. It all depends on where you’re going and what you anticipate being the main photo subjects. Another danger is going to the other extreme and not taking extra camera batteries, battery charger, and extra memory cards. A useful exercise is to list all your camera gear, then check off what you need for specific trips.
3 Plan to back up your photos
Some photographers religiously download their photos at the end of the day and make copies on a laptop computer or extra hard drive. Some go through their photos daily and delete everything but the “keepers”. Others simply take enough memory cards to last the trip.
We’re somewhere in the middle. On a short trip of a few days we just take enough memory cards. We seldom delete photos from cards while on a trip. Not only is it time consuming but we prefer to wait until we can look at the images on a large monitor on the computer at home to decide if they are “keepers” or not, rather than trying to edit on the camera display or on a laptop.
For longer trips, or when travelling to special places that we likely won’t get back to, we’re more diligent on backing up our photos. We carry a laptop and compact hard drive to copy everything from a memory card. If we need to re-use memory cards, we’ll back up the photos onto two different drives. The purpose of making backups is in case of “what ifs”. What if the memory card fails, your camera gets stolen or damaged, your luggage goes astray, or a number of other scenarios? If you get that once in a lifetime shot of a grizzly bear fighting a moose at sunset, framed by a rainbow, it’s comforting to know that you have more than one copy. Of course, it’s also important to keep the backups in different places to spread the risk.
4 Check ahead on best times and restrictions
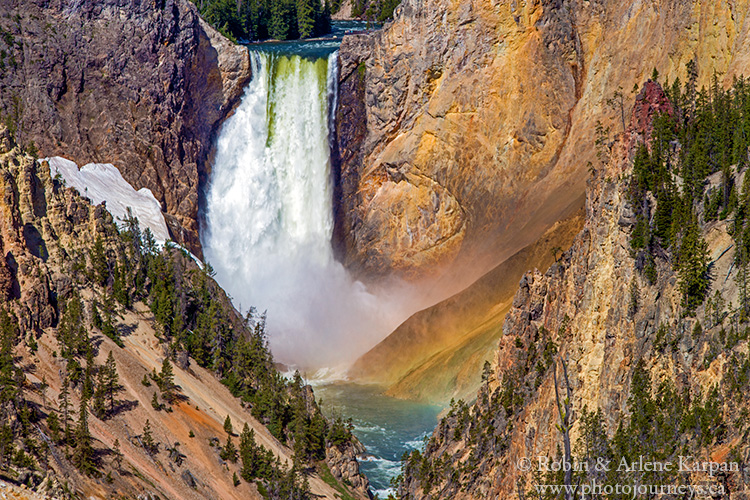
As general rule, early morning and just before sunset are prime times for outdoor photography, but there are exceptions. In parts of the mountains or deep valleys, the sun may be long gone well before sunset. In Yellowstone National Park for example, photographing the mist below the waterfalls turning colour from the sun means going mid-morning, while the best time for the Morning Glory Pool is high noon when the sun can reach into its dazzling depths. It’s possible to research many of these “best times” in advance, allowing you to better plan your schedule.
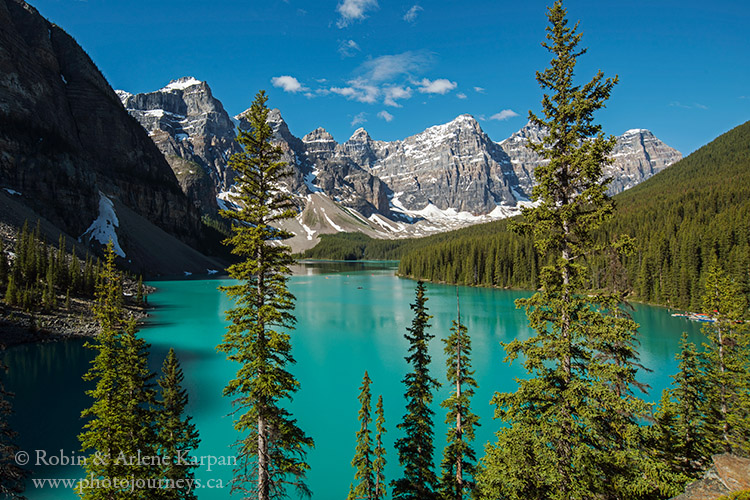
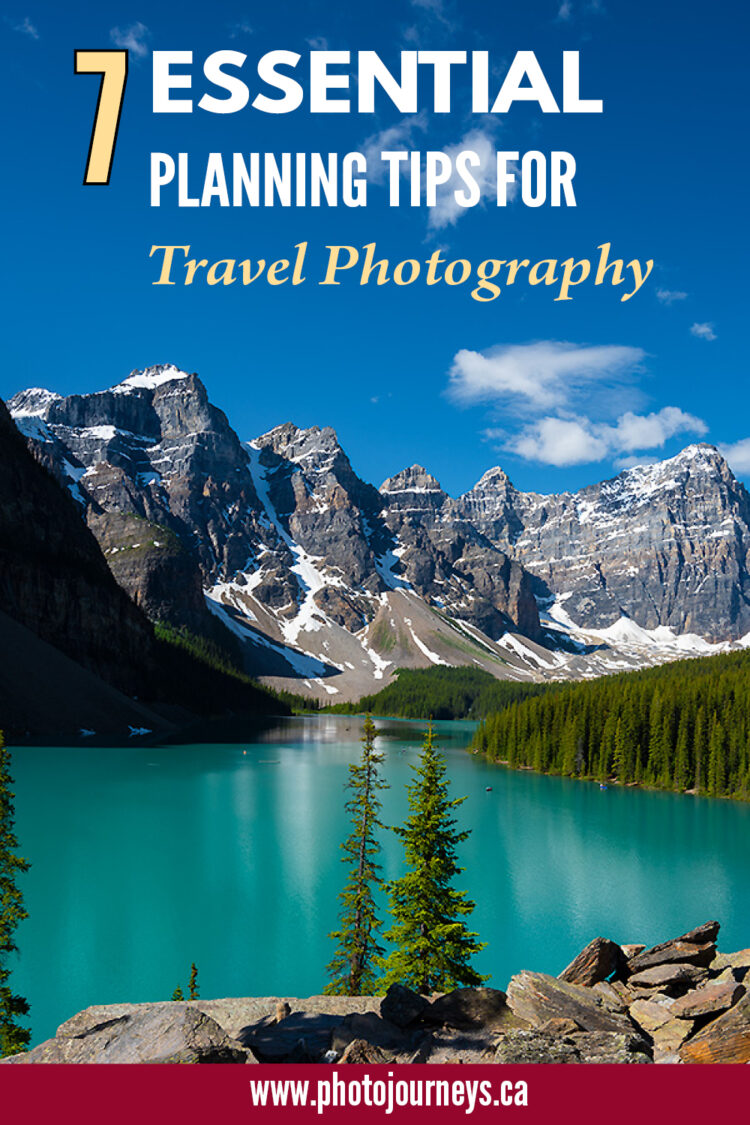
Likewise, we can discover the busiest times for parks or other attractions then try to avoid the crowds. In Banff National Park’s famous Moraine Lake, for example, it’s almost always essential to go extremely early in the morning or else you could be out of luck. The parking lot quickly fills up and no more traffic is allowed on the road.
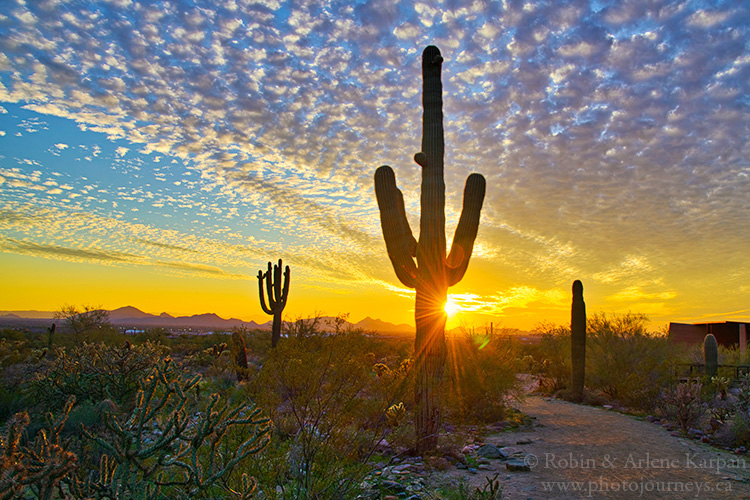
Then there are various rules and regulations to work around. Most indoor and even some crowded outdoor places restrict the use of tripods. Even some outdoor places may have specific opening and closing times. The following image is from McDowell Sonoran Reserve in Scottsdale, Arizona. The best times for photography, by far, are near sunrise and sunset. The only glitch is that the park closes at sunset – everyone has to leave when the gates are locked. In order to get a shot with the sun low in the sky just before sunset, we had to plan on staying fairly close to the entrance.
5 Choose accommodation in the right location
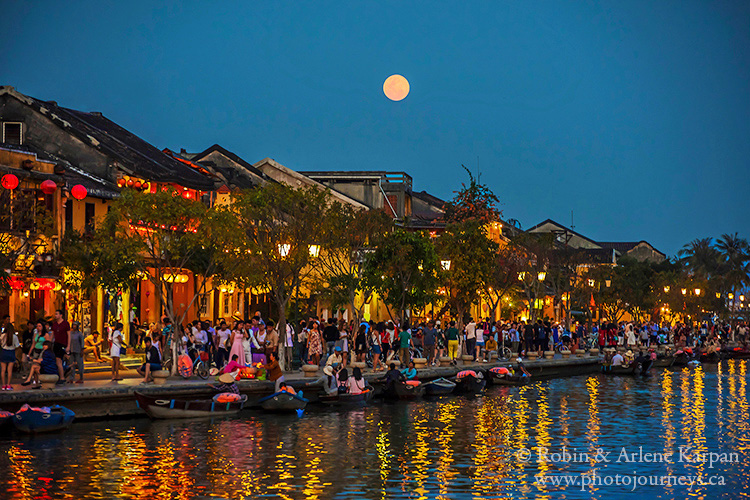
Whenever possible, try to choose your accommodation close to what you want to photograph, especially for sunrise, sunset, or night-time photography. If your goal is to photograph sunrise at a prime spot a half-hour east of a city, try to stay near the east side of the city or where there is easy access to your photo location. A little research might alert you to potential glitches such as being caught in rush hour traffic at that time of day.
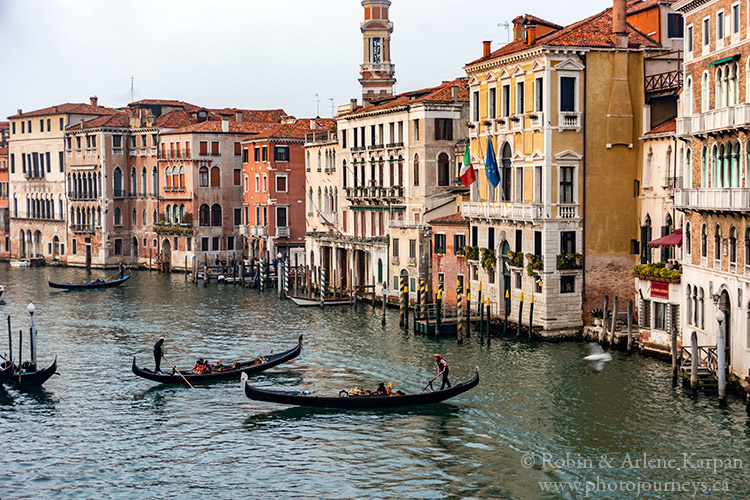
When we were preparing for a trip to Venice, Italy, we found several travel resources (probably written by non-photographers) that suggested staying just outside Venice itself because there is a wider range of accommodation and lower prices. However, this would mean taking a train, then a boat to get into the heart of Venice – not the best use of time during short winter days. We instead opted to stay in the centre where it was a few minutes’ walk to prime photo spots or to visit popular historic sites before the hoards of day-trippers arrived.
6 Use off-line maps
No matter where you go, a map helps you get around, and is often essential. We never rely solely on GPS units in cars that presumably map out the best routes. In cities and along major highways, they may be perfectly fine. But once you get off the beaten path, we’ve found them to be notoriously unreliable. We’ve seen them suggest some truly bizarre routes.
There are several options for maps. A free map app that we have been using for many years is Maps.me. We have used it for everything from wandering little-known backroads close to home to canoe trips in the north, and driving around the wilds of Namibia. You have to download the maps for the region you’re visiting, then you can use it off-line.
7 Plan shots in advance with photo apps
Want to know exactly where and where the sun will set over the badlands in Grasslands National Park on May 15, or the exact time and place you have to be to photograph the next full moon rising behind a particular church steeple? Photo planning apps can be extremely helpful. One we like is the Photographer’s Ephemeris which is fairly straightforward to use. The desktop computer web version is free, making it excellent for advance planning.
The other one is PhotoPills. You have to pay for this one, though it’s a bargain at $9.95 US. You can do a lot more with it, but the learning curve is higher. It helps you plan photos such as sunrise, sunset, moon rise and set, and the location of the milky way anywhere in the world. Taking the example of a moon rising behind a church steeple — you can even calculate details such as how far away you need to be to get the moon to look a certain size, and what camera settings you need to get both the church and moon in focus. We plan to discuss this further in a future posting.

Balance planning with flexibility
It’s all very well to do a lot of advance planning, but it’s equally important to remain flexible to adapt to changing conditions. Clouds and rain might make short work of your sunset plans. Once at a destination, you might learn of a spectacular nearby attraction you didn’t know about. If we look back at our travels, sometimes our favourite images are ones that we didn’t plan. Of all of these tips, the first one of allowing sufficient time is probably the most important.
SUBSCRIBE to Photojourneys below
Feel free to PIN this article
I loved your article with many tips and tricks to get the right shot. I have not been good at planning photo trips. My photos have mostly been what is there when I get there. The trip itself has been my goal but I will try to plan some photo excursions based on your experience in the future.
I know that winter holds many photographic wonders as well but my feelings of winter are an invitation to hibernation. I will try one of these days also to ignore the chill and find some dramatic winter scenes.
Thanks for the inspiration and the tips !
Bill Hails
Bill – thanks for your comments, and we’re pleased that you enjoyed the article. Sometimes it’s hard to find a balance between enjoying what you encounter at a new place you visit, and planning to capture an image at the optimum time of day. Good luck as you continue your photo journeys wherever they may take you.