All photos © Robin and Arlene Karpan
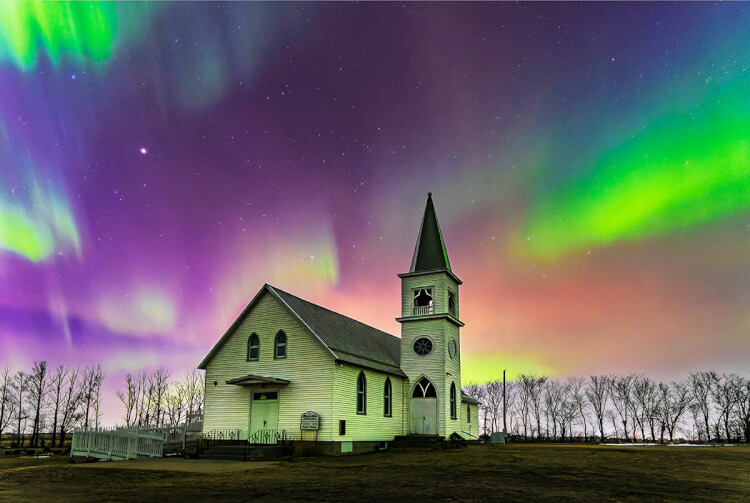
Do you enjoy watching and photographing dazzling northern lights, or aurora borealis, displays? The good news is that we are in a period that is stacking up to be the best in the past two decades. So there is no better time to grab your camera and get ready to capture one of nature’s greatest spectacles.
Increased solar activity means more northern lights
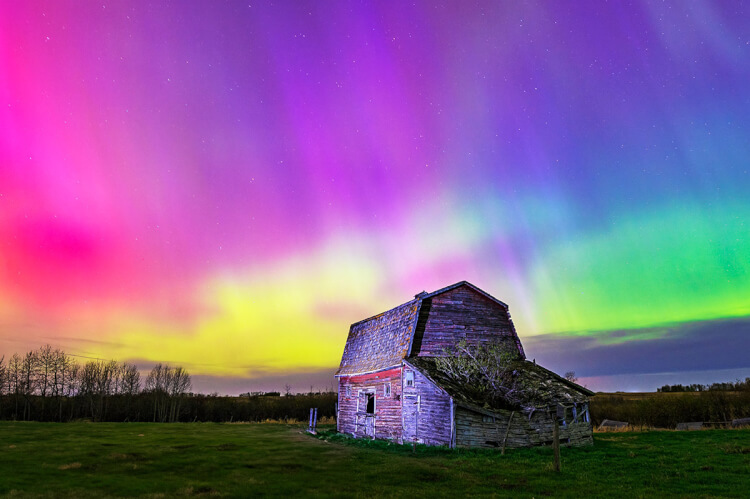
So far in 2024, some nights have already become legendary with brilliant sightings reported from many parts of the world, including as far south as Florida. The unusual flourish of red and purple has been the strongest we have ever seen. As we get into fall, conditions for photography improve even more since it gets dark earlier and the nights are longer, making the aurora stand out better.
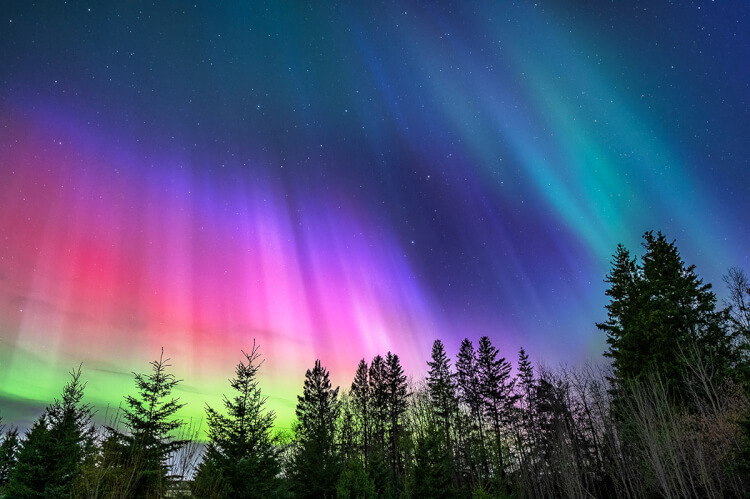
The northern lights, or aurora borealis, result from sunspot activity and solar eruptions that send particles that interact with the Earth’s magnetic field.
While these can occur anytime, we are in an 11-year solar cycle with optimal conditions. The last peak of the cycle in 2014 was not especially strong, according to observers, leading to the prediction that 2024 to early 2026 could be the most active in over 20 years.
How to capture the northern lights
As a general rule, the farther north you are, the better the chances of seeing northern lights. However, during periods of high activity, the aurora often becomes visible a lot farther south. Choosing a location free of city light pollution certainly helps, so those living in rural areas already have a head start to being in the right place.
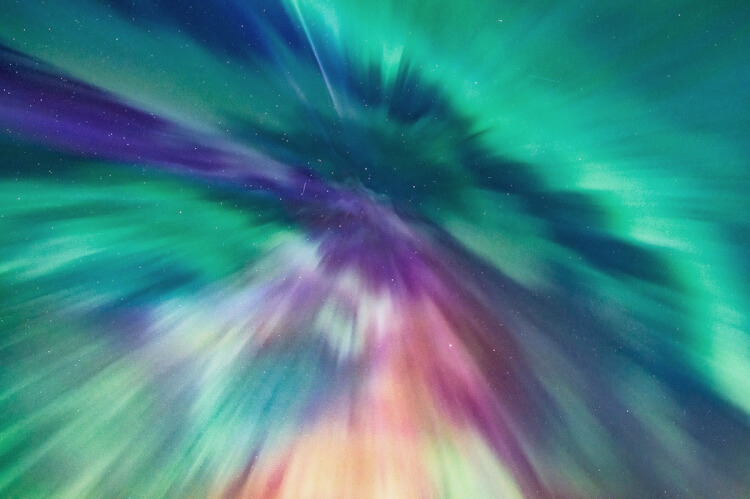
Capturing northern lights is one of the easiest types of night photography because exact exposure settings are not critical. A full-frame camera and wide-angle lens capable of opening to a wide aperture (such as f/2.8) is preferable but not essential. Most types of cameras can do the job.
While it may be possible to get reasonable results while hand-holding a camera, using a tripod increases the quality of images dramatically.
Use the widest lens you have and set it at the widest aperture (the smallest number, such as f/2.8). The length of the exposure could be anywhere from a second or two to 30 seconds, depending on the strength of the aurora and the darkness of the sky.
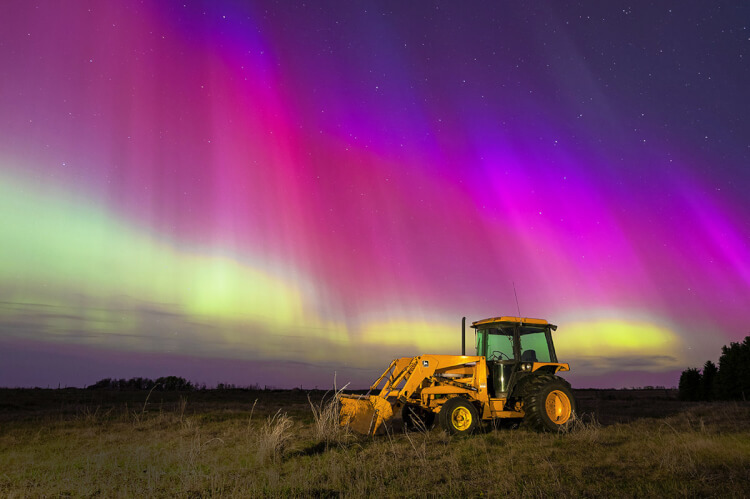
If the lights are moving a lot, err on the side of a shorter exposure so that the lights don’t become blurry. When the lights are more stationary, we can use a longer exposure. This in turn allows a lower ISO setting, which means less “noise,” or graininess, in the image.
If you’re not sure where to begin with camera settings, start with an exposure of around 15 seconds and an ISO of 1600. Check the results, then adjust the exposure and ISO up or down to get the results you like.
Autofocus doesn’t work well, if at all, in the dark so turn it off. Use a cable release or the self-timer on your camera so that you don’t touch it and possibly introduce camera shake during the exposure. Be sure to remove any filters from your lens for aurora photography. Otherwise, weird concentric circles could show up on your images.
Include some foreground interest
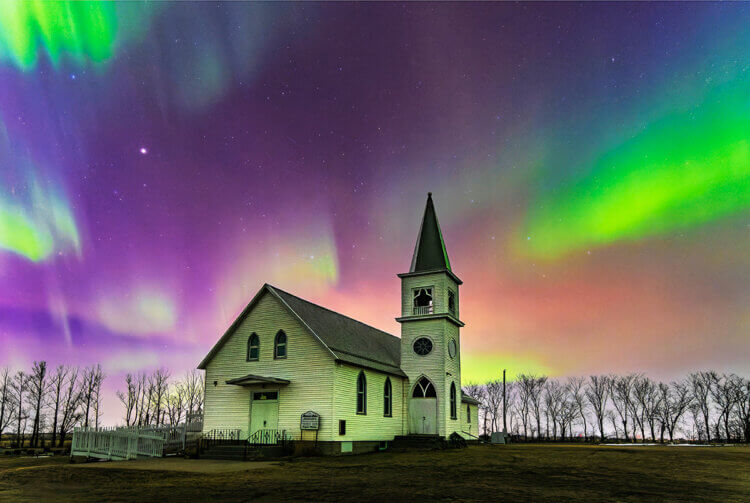
Although the sky is the main feature, consider including some foreground interest in the image. We like buildings such as country churches, barns, or traditional grain elevators. Even treetops help to ground the photo and give it a sense of place. When near a lake, or even a large slough, move close to the water’s edge to capture the aurora reflecting in the water.
Other props might be a piece of farm machinery or a vehicle placed in an appropriate spot. We dragged an old decrepit (but full of character) 1951 Fargo truck into our pasture and gave it a new lease on life as a prop for night photography.
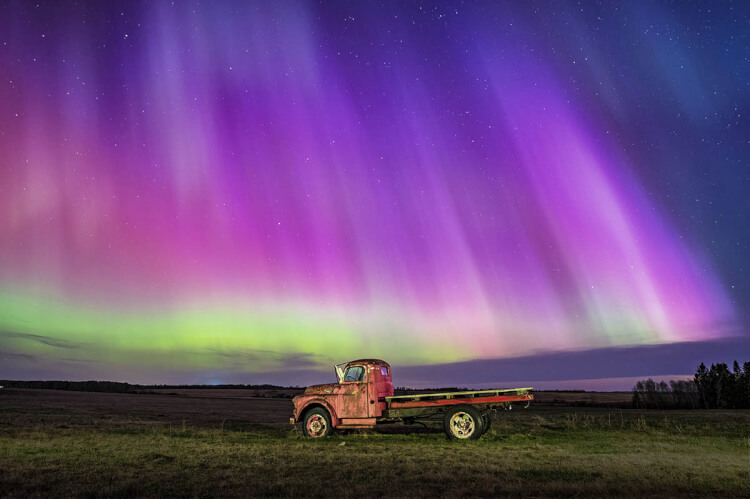
Foreground subjects such as this will appear as silhouettes at night, but we can illuminate them by “light painting.” This is simply shining a light (even a small flashlight will do) on the subject briefly, which is easy enough to do if the exposure is a few seconds long.
How strong the light should be and how long to shine on your subject varies widely, so you may have to experiment with a few shots before getting it right. You may be surprised at how little light is needed. Keep the light moving throughout the exposure so that you don’t get hot spots rather than an even light.
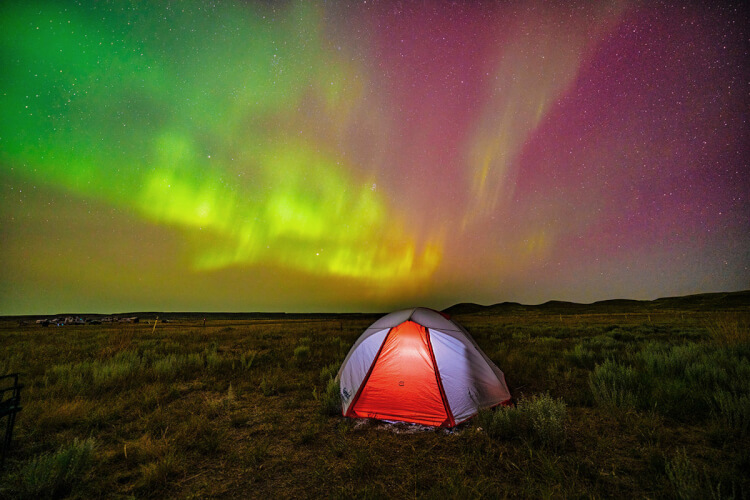
While foreground interest is usually preferable, also take some shots straight up, especially if the aurora seems to be spreading out from one area of the sky. This can make some intriguing abstract images.
Plan ahead
While we’re in a favourable period, forecasting exactly when the aurora will put on a show only happens a day or two or sometimes just hours ahead. Several websites issue forecasts. Some prominent ones include SpaceWeatherLive and Auroraforecast
But if you live in Western Canada the best one to monitor is Aurora Watch. Run by the University of Alberta, the predictions are usually applicable to much of the Prairies. You can sign up to receive email alerts. When you’re notified that conditions look promising, you can get ready to grab your gear, plan your location, and photograph one of the greatest shows on Earth.
SUBSCRIBE to Photojourneys below
Feel free to PIN this article on Photographing the Northern Lights
