
This week we’re highlighting a Getting the Shot segment. It’s a behind-the-scenes look at a specific photograph and what was involved in getting the image – why we took it, what attracted us to the scene, and technicalities such as camera settings and processing in putting it all together.
When we look at a finished photograph, it’s not easy to tell what took place in its creation. Sometimes all of the elements such as weather, light conditions, as well as being in the right place at the right time, all come together and present us with the ideal opportunity. More often than not, we have to work at it, making compromises and trying different approaches until it works.
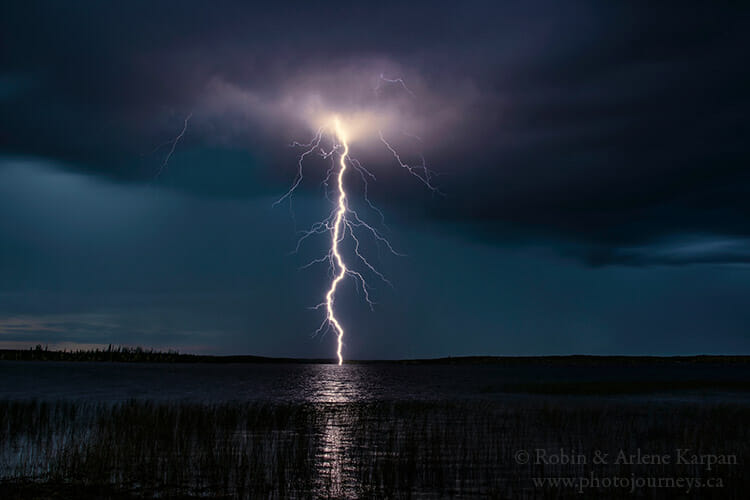
This is an image of lightning on Tyrrell Lake, taken in September along the Hanson Lake Road in northeast Saskatchewan. We were fortunate that the photo was recently named September Photo of the Month in a competition sponsored by Storm Hour and the Royal Meteorological Society in the United Kingdom.
Equipment and settings: Nikon D810 camera, 24-120mm f/4 lens set at 24mm. Exposure 30 sec., f/16, ISO 64, on a tripod.
Setting the Scene
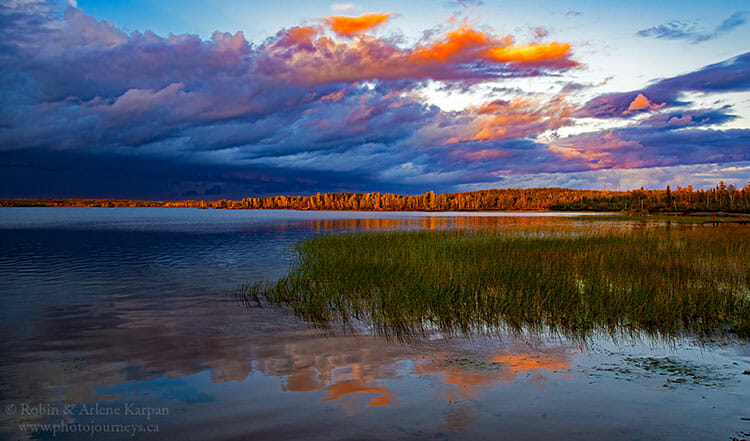
We were travelling along the Hanson Lake Road in northeast Saskatchewan, a wonderful area of forest and lakes. The campground at Tyrrell Lake, just off the road, was simply a convenient place to stop for the night. The campground is small, and since it was late in the season, we were the only ones there. The afternoon and evening were mostly cloudy, but just before sunset, the clouds parted for a few short minutes of outstanding golden hour photography. Before long, the clouds returned, it got dark, and we assumed that was it for photography until the next day.

We lit a fire for a supper barbecue, and before long storm clouds began to develop. The storm seemed isolated and was moving slowly across the opposite side of the lake. When the first strikes of lightning happened, the barbecue was quickly put on hold. It looked as if we wouldn’t have much time before it started to rain.
The Photography Technique and Camera Settings
Since it was dark, and the lightning strikes were occurring only intermittently, I decided that the best chance of capturing a strike was to do long exposures. On the D810, as well as on most other cameras, the longest exposure is 30 sec. without going to bulb mode and controlling the exposure manually. So I opted for doing a series of 30 sec. exposures. I chose the lowest ISO possible, which is 64, and an aperture of f/16, which lets in a minimal amount of light. The objective was to keep the image fairly dark so that it was possible to take a long exposure without a lot of ambient light. When the lightning did strike, it would provide almost all of the light for the image. A lightning strike only lasts for a split second, and it’s hard to predict exactly when it will happen. So the longer the exposure, the better the chance of catching the strike sometime during the 30 sec.
Processing
The RAW image required extremely little processing. Mostly it was a matter of cleaning up a couple of moisture droplets that hit the front of the lens from the drizzle that was just starting. The low ISO meant little noise in the image. By keeping the rest of the frame dark, the lightning took centre stage in the composition.
Related posts you might also enjoy:
SUBSCRIBE to Photojourneys below
Feel free to PIN this article for later


Absolutely spectacular photos, and great explanations of the settings,,, Bravo !!!
Thanks for your comments Denise. We’re glad that you found the post useful.