This week we’re highlighting a Getting the Shot segment. It’s a behind-the-scenes look at a specific photograph and what was involved in getting the image – why we took it, what attracted us to the scene, and technicalities such as camera settings and processing in putting it all together.
When we look at a finished photograph, it’s not easy to tell what took place in its creation. Sometimes all of the elements such as weather, light conditions, as well as being in the right place at the right time, all come together and present us with the ideal opportunity. More often than not, we have to work at it, making compromises and trying different approaches until it works.
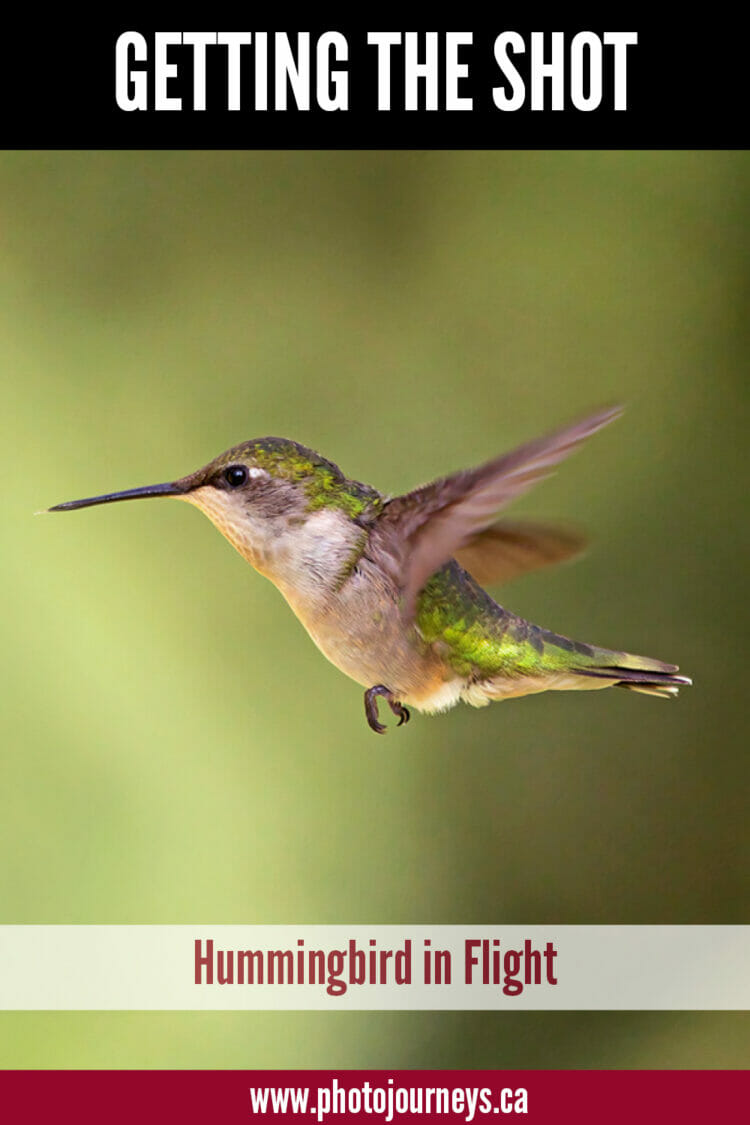
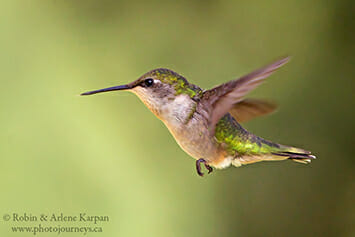
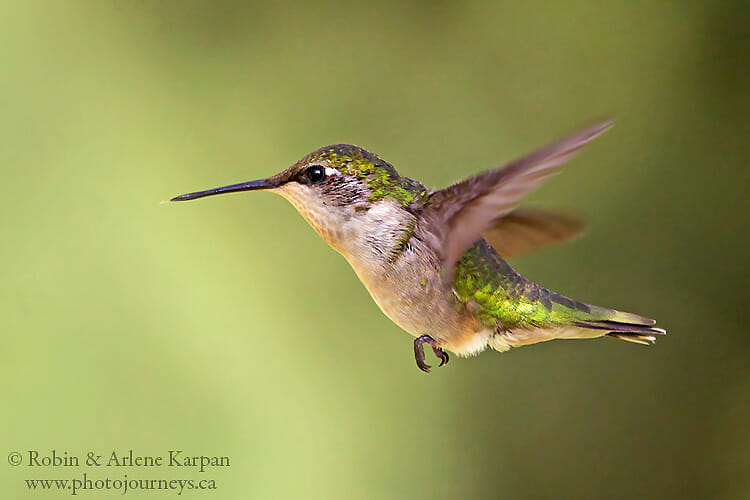
This is an image of a juvenile ruby-throated hummingbird in flight. We’re fortunate to have hummers nesting nearby and frequently coming to our feeders. The goal was to get the bird in flight but also to have it stand out from the background.
Equipment and settings: Nikon D850 camera with a 150-600mm f5-6.3 lens, extended to 600 mm. Handheld. Exposure 1/1600 sec, f/6.3, ISO 3600.
Setting the Scene
Hummingbirds fly at crazy speeds, so the best chance to capture it flying in one spot long enough to get a photo is near a feeder. But in order to give the image a natural look, we didn’t want the feeder in the frame. We hung the feeder on a tree branch so that it would be illuminated by the low evening sun. It was also important to place it where there would be nothing distracting immediately behind it. The trees in the background are at least five metres away, so they would appear as a soft green blur in the image, allowing the bird to stand out.
The Photography Technique
When hummingbirds come to a feeder, they sometimes take a drink, fly back a few inches as if to assess the situation, then return for another drink. After watching this bird’s repeated behaviour for a while, it seemed that these short backward flights would probably provide the best opportunity to capture it in relatively slow flight. Since the birds were moving around a lot, I decided to try handholding the camera rather than using a tripod. Fortunately, this lens is light enough for this and it has become my go-to lens for flying birds. As expected, I had to take several shots in order to get a few that were properly focused.
Camera Settings
For birds in flight I almost always use a manual setting for exposure and aperture, and set the ISO to Auto. This way I can choose a fast enough exposure to better the chances of getting a sharp image, and the camera automatically adjusts the ISO to compensate for different light conditions. The faster the speed the better chance of stopping the action, but if I chose too fast an exposure, the camera would have to compensate with a very high ISO which could result in excessive noise in the photo. I opted for 1600 sec. as a compromise, and set the aperture wide open at f6.3. The resulting ISO calculated by the camera was ISO 3600. See our previous posting on Auto ISO for Wildlife Photography.
Processing
The pleasing evening light and clean out-of-focus background meant that little processing was required to the RAW image. Since the ISO of 3600 was quite high, there was some noise in the photo, which I reduced using Topaz Denoise, though noise reduction using Lightroom, Photoshop and other programs would have done the trick as well.
Related posts you might also enjoy:
- Getting the Shot – Hole-in-the-Rock, Phoenix, AZ
- Getting the Shot – Hoi An at Night
- Getting the Shot – Lightning on Tyrrell Lake
- How to Use Auto ISO for Wildlife Photography
SUBSCRIBE to Photojourneys below
Feel free to PIN this article