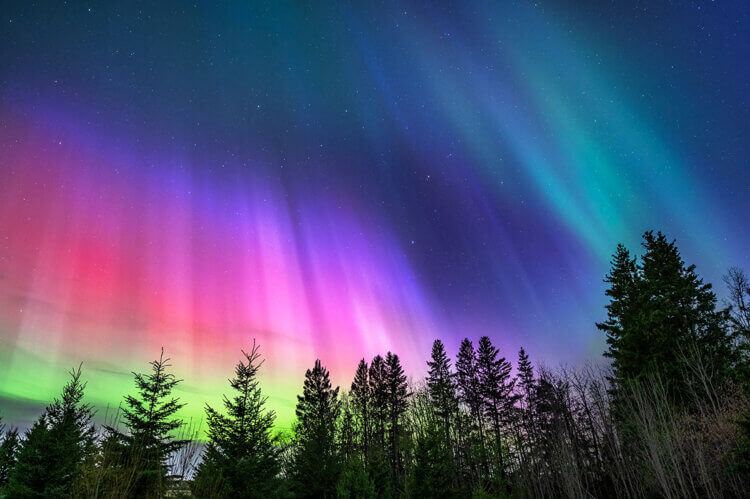
All photos © Robin and Arlene Karpan
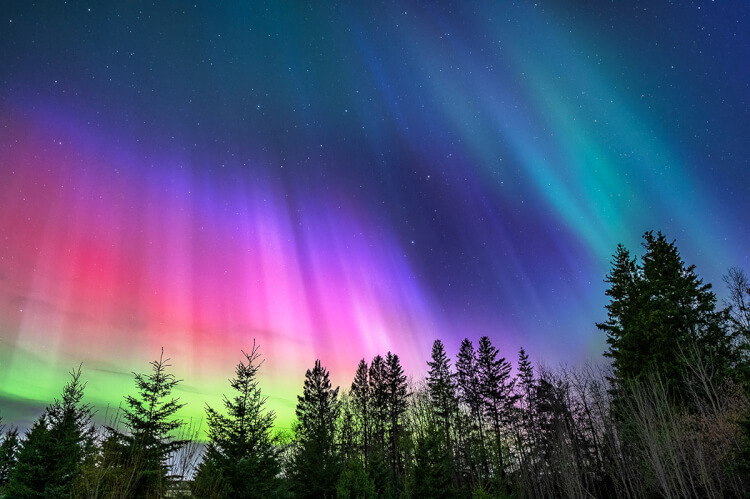
Capturing the night sky can be one of the most rewarding types of photography, often yielding dazzling results that we can never get during the day. Some aspects of night photography can be complex or require specialized equipment. But not always. Here are four situations where you can get great results with a minimum of fuss and using almost any type of camera.
Northern Lights
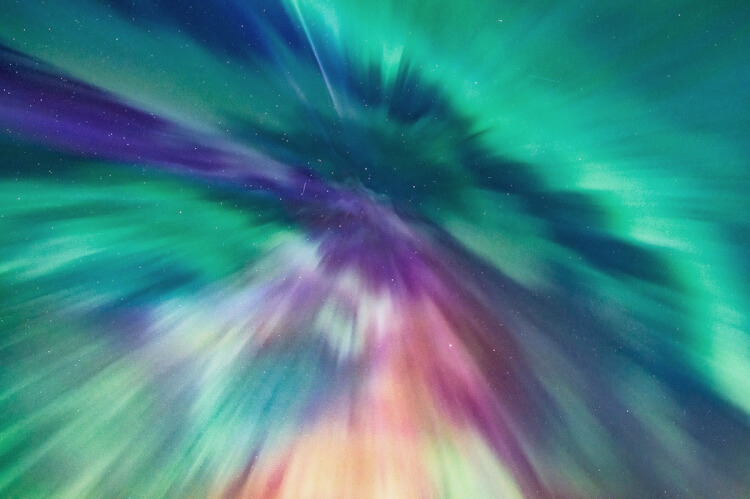
This is the easiest part of night photography since almost any camera can do the job. Exposures can be anywhere from a second or two to 20 or 30 seconds, depending on light conditions, and you can be out a bit with your settings and still get acceptable results. As always, take a few test shots to find the right exposure.
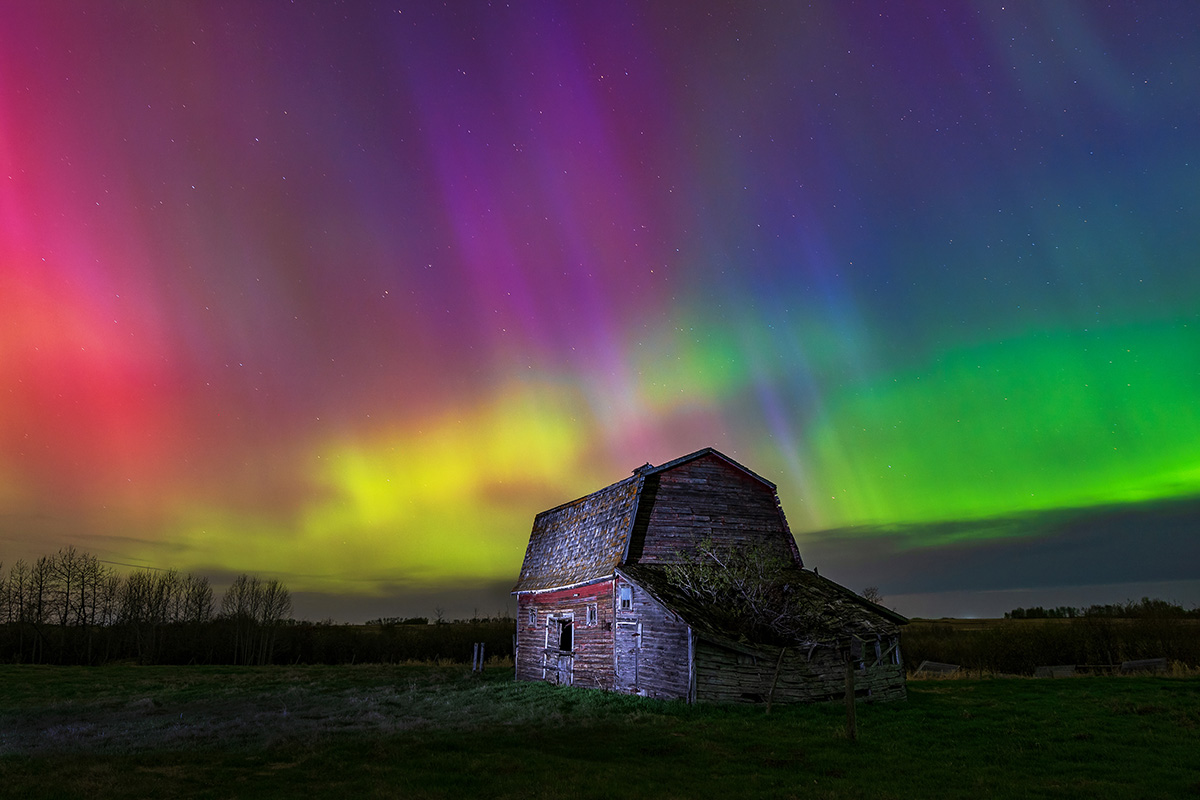
If you’re not sure where to begin with camera settings, start with an exposure of around 15 seconds, and an ISO of 1600, and open the aperture as wide as it will go. Check the results and adjust the exposure and ISO up or down until you’re happy with the shot.
As a general rule, if the northern lights are fairly stable, you can try a longer exposure. This allows for a lower ISO setting, which means less noise or graininess in the image. When the lights dance around a lot, a shorter exposure is usually better so that you don’t blur the lights too much. On the other hand, some blurring of the lights provides a sense of movement. There is no right or wrong.
Be sure to take any filters off your lens when photographing northern lights or else you may end up with weird concentric circles on your images. There are complex scientific explanations as to why this happens, but all we have to remember is to remove filters.
As with all nighttime photos, try to include some foreground interest in the frame such as a building or even treetops.
Star Trails
Star trails offer us the most surprising part of night photography. We’re photographing reality but not a reality that we can see at one moment in time. The good news is that it is not difficult and most cameras can handle the job.
Star trail photography is also quite forgiving because we don’t have to worry about keeping the stars as points of light. Rather, we want them to be stretched out, and there are no hard and fast rules about how long the exposure should be. While you can get trails with an exposure of only a half hour or hour, the longer the better, even all night. A short duration will result in short lines while a longer exposure will yield longer, smoother lines showing more colour.
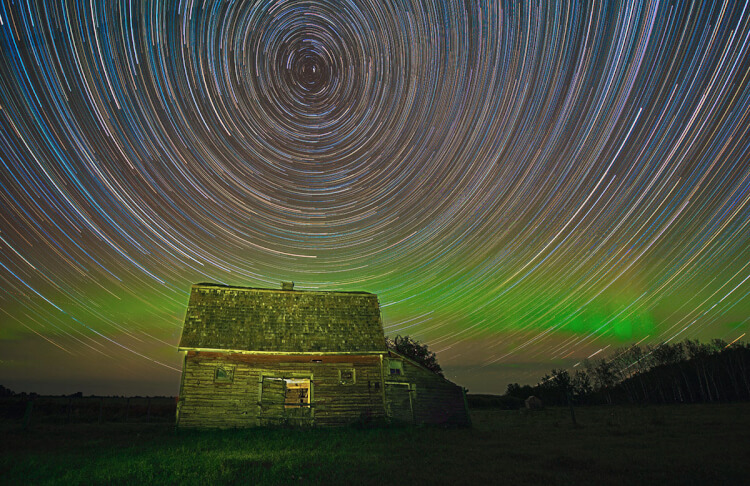
Unlike with film when we used to take star trails with one really long exposure, today the normal process is to take a series of shorter exposures then stack them together to produce the final image. The most convenient software that we found to do this is Sequator (which, as a bonus, is also free). It only runs on Windows computers. It is also possible to stack the images in Photoshop and other programs.
To program a series of images you need to use an intervalometer. Many newer cameras have them built in or you can buy external ones fairly inexpensively. You then set it to keep taking 30-second (or any other duration) exposures for however long you want.
Here too, there is no strict rule as to how long the exposures should be. Many people use 30 seconds, others use as much as 3 minutes, so you have a lot of latitude. The best is to do a few test shots to find the results you like.
The advantage of longer exposures is that there are fewer frames to stack together. However, with shorter exposures, if something happens to one frame, such as a car driving by with bright headlights, you can eliminate that frame with little noticeable difference to the final image. As in most dark sky photography, use the widest angle lens you have and set it at or near the widest aperture setting.
Stars are not all white but have different colours when we look at them carefully. The key to retaining those colours is being careful not to overexpose the stars. It’s tempting to crank up the exposure because the sky looks so dark but we should be concerned about the stars themselves rather than the overall look of the sky.
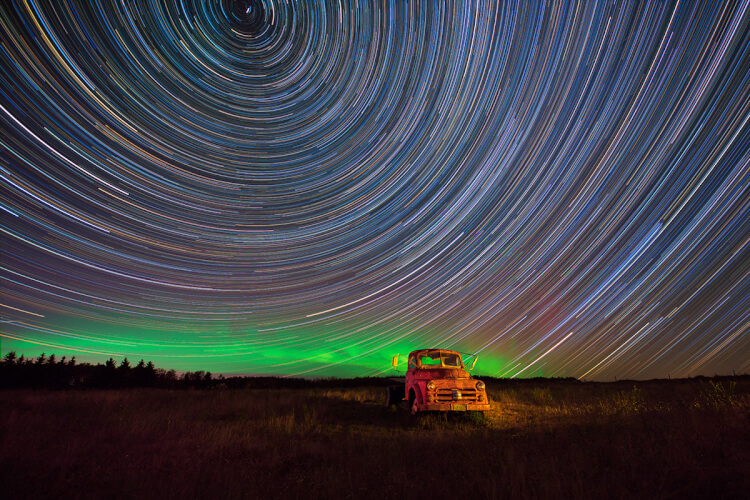
The following photo is made up of a series of 30-second exposures taken over 2.5 hours. During one frame, I did some light painting on the truck. The settings were f/2.8, 800 ISO. That might seem like a fairly low ISO setting for a night image but it helped to retain the colour in the stars. Each frame still looked fairly dark but when they were put together to show the star trails, the accumulation of stars made the final image brighter. We could then adjust the final image in Photoshop to bring out the brightness while being careful to retain the colour in the stars. As a bonus, some low-level northern lights added a bit of extra colour to part of the sky.
Lightning
Lightning can be both difficult and easy to capture, depending on the conditions. Getting a daytime lightning shot is the toughest because the ambient light is so bright that you are forced to use a fast shutter speed. Unless we’re in the midst of a major storm where the lightning is flashing almost non-stop, it’s difficult to get the timing right. Once you see the lightning and then release the shutter, it’s usually too late. In the daytime, it’s usually necessary to use a specialized lightning trigger which can sense the lightning and fire the shutter in time.
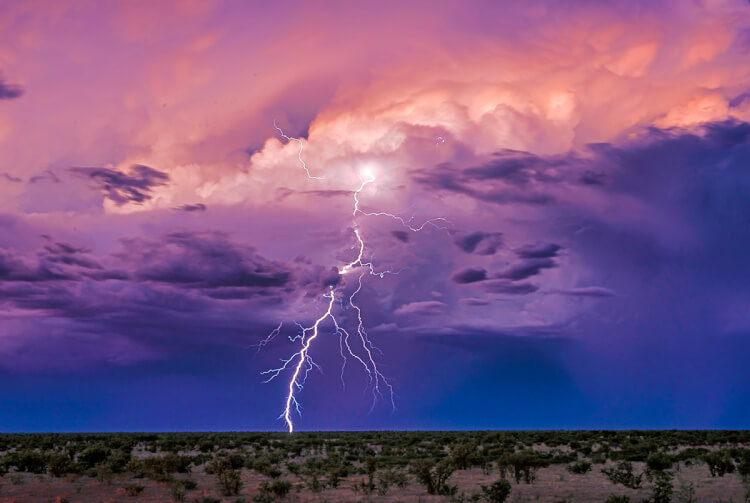
At night it’s a lot easier, and you can usually capture a lightning strike with practically any camera. With the camera solidly on a tripod, set the shutter speed for the longest possible exposure time without over-exposing the scene. You’ll need to do a few test shots since light conditions vary. For a long exposure, set your ISO as low as it will go and the aperture to a small opening such as f/16. The goal is to allow the least amount of light into the camera so that you can leave the shutter open longer. With a reasonably dark sky, you should be able to do a 30-second exposure which is the maximum duration allowed by many cameras.
In the following image, the camera was set at ISO 64 (its lowest setting), the aperture at f/16, and the shutter at 30 seconds. In the test shots without lightning, the only thing captured in the frame was the lingering twilight in the bottom right with the rest of the photo being almost completely dark. The rest of the scene is illuminated almost entirely by the lightning strike. During this storm, the lightning was happening only intermittently, so the majority of 30-second frames were dark. But when the lightning strikes anytime at all during one of the 30-second exposures, it gets captured without having to worry about exact timing.
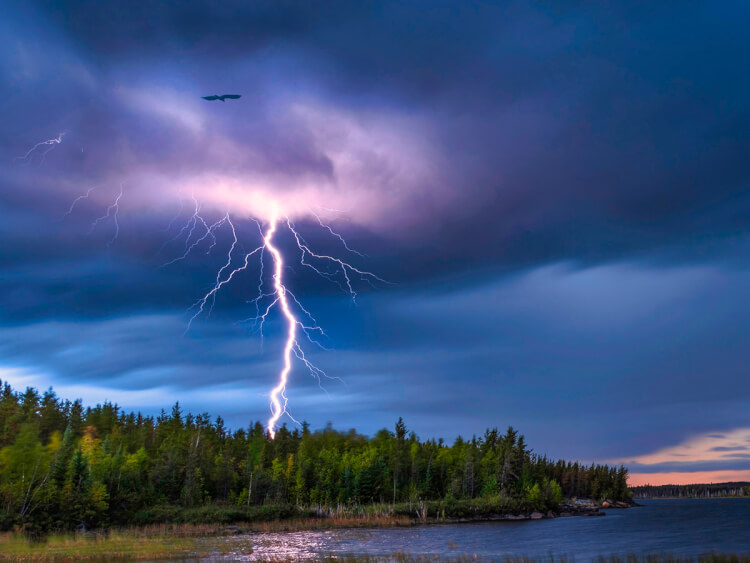
A bonus here was the raven flying overhead. Normally, photographing a flying bird with a 30-second exposure would result in a huge blur. But because it was dark, the bird was only captured for that fraction of a second that the lightning bolt lit the scene, thereby freezing the action.
Of course, you should only photograph lightning when it is safe to do so and when the lightning is not too close.
Photographing a BIG Moon
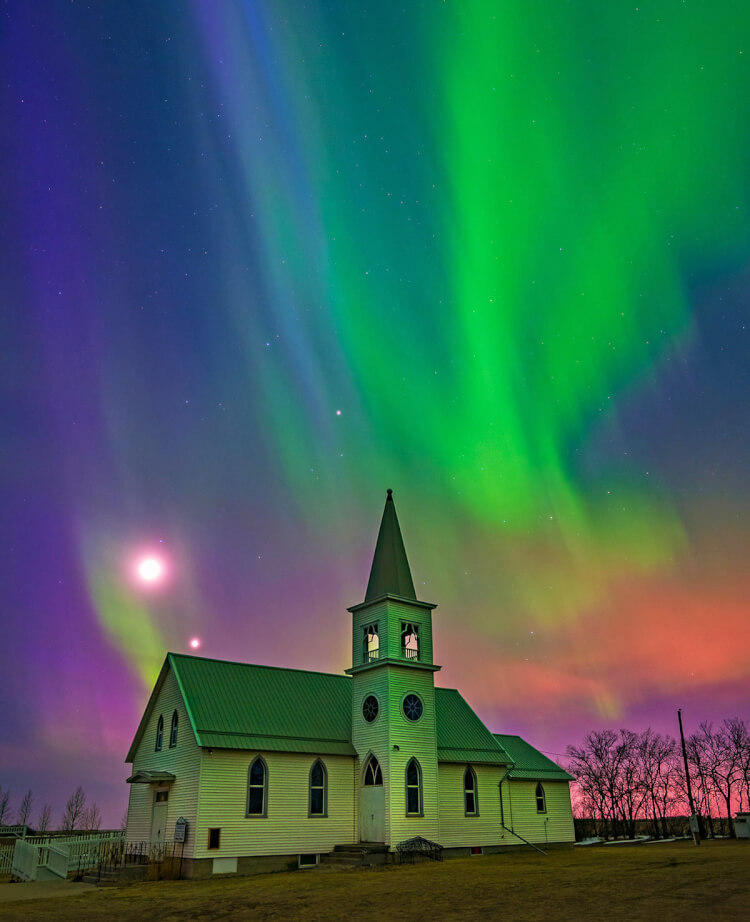
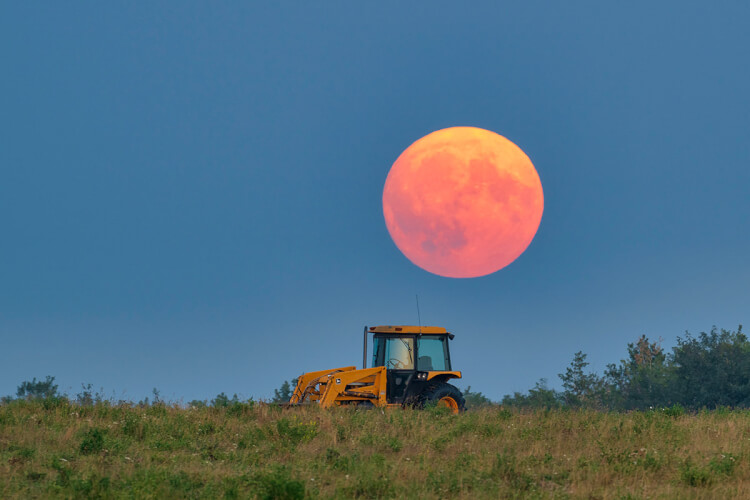
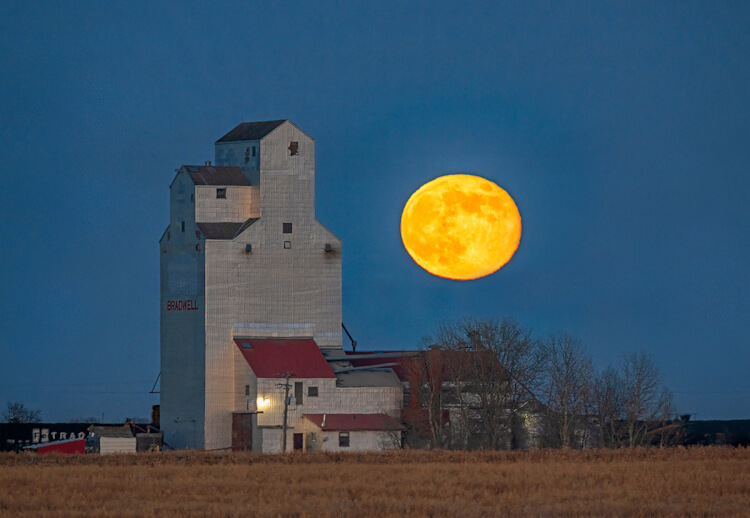
Full moon is our favourite time of the month, especially during moonrise when the moon takes on a golden and sometimes a reddish or pinkish hue when it is close to the horizon. It quickly turns brighter and whiter as it rises in the sky.
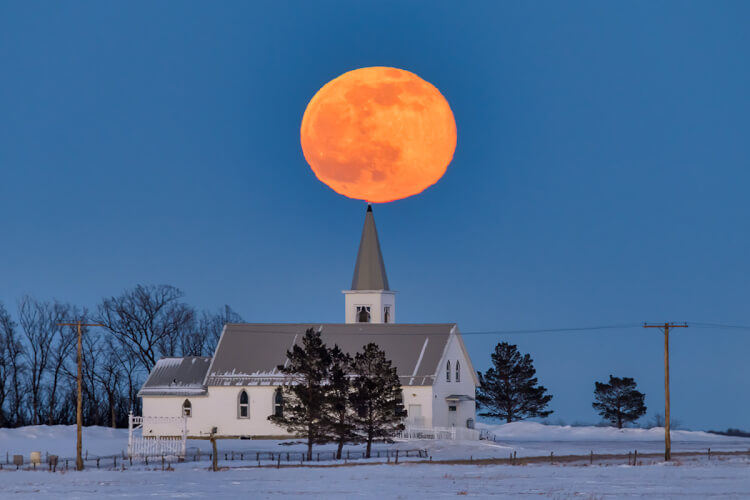
The most fun part of moon photography is making the full moon appear huge. In reality, the moon isn’t very big – you can stretch out your arm and cover it with your thumb. We did a separate article – How to Photograph a Big Moon – on how the choice of lens can affect the apparent size of the moon. The moon’s size doesn’t change, just our perception of it, but we can use that changing perception to our advantage in photography.
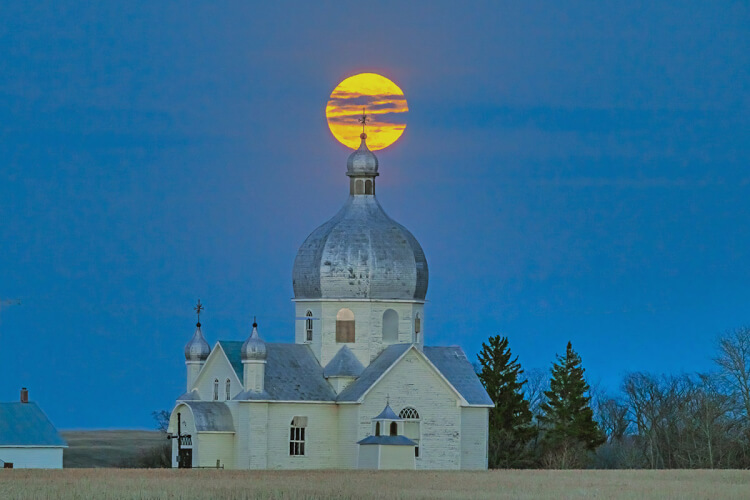
The apparent size of the moon depends on two main factors. The first is the focal length of your lens – using a long telephoto lens results in the moon taking up more space in the frame than a shorter lens. Equally important is the distance between your camera and your subject. If you’re taking a photo of the moon over a church steeple, for example, the farther you are away from the church, the bigger the moon will appear. If you have a long telephoto lens, such as 500mm or 600mm plus a clear line of sight, you can even be a kilometre or two away – the farther away the bigger the moon. Don’t worry if you don’t have a super long telephoto lens. A focal length of 200-300mm will yield some impressive results as well.
We have to be aware of the depth of field, the portion of the frame that is in focus from front to back. The longer the focal length of the lens the smaller the depth of field will be. There’s the added complication of your subject being a kilometre away and the moon being 360,000 kilometres away. How do we get both in focus?
The best is to always focus on the subject, such as the church steeple, then make adjustments to get the moon “acceptably sharp”. For our purposes, we want the hyperfocal distance of the lens to be no farther away than the church, so that when we focus on the church, both it and the moon are at infinity and will be in focus. This is the focusing distance that maximizes the depth of field from front to back. But most critical here, it’s the nearest distance you can focus the lens to get acceptable focus at infinity (such as the moon, sky, and far away landforms).
We can look up hyperfocal charts for all lenses and their settings on the internet, or use apps such as PhotoPills which will do the calculations. But if you want to keep things simple and not fuss around doing math or looking things up, just err on the side of using a smaller aperture such as f/11 or f/16 which will increase the depth of field significantly over more wide open settings such as f/4. This will mean that your exposure time is longer, but that shouldn’t be a problem if your camera is mounted solidly on a tripod.
Final thoughts
In most nighttime photography it is best not to use autofocus. While it works fine in the daytime and when there is sufficient light, autofocus struggles at night and often doesn’t work at all. When using a wide-angle lens for photography such as star trails or northern lights we usually pre-focus the lens at infinity in the daytime, then switch auto focus off.
Often we’ll tape down the focusing ring on the lens so that it doesn’t accidently move. We suggest using gaffers tape which can then be removed without leaving a sticky residue. Wide-angle lenses have a large depth of field so leaving the focus on infinity usually isn’t a problem. However, check that anything you intend to include as foreground interest is still in focus at infinity. For example, in the star trails image with the truck, the truck is still in focus at infinity even though I was quite close to it.
When photographing the full moon rising over a subject such as a building, there is usually enough light to use autofocus on the subject. When we have focus, we’ll almost always switch autofocus off because as it gets darker the autofocus may have trouble staying locked on the subject.
A tripod is necessary for night photography. It is also best to use a cable release to fire the shutter so that you don’t touch the camera and introduce camera shake. Alternatively, set the self-timer to 2 seconds so the camera has time to settle down after you press the shutter.
Above all, night photography should be about having fun and experimenting with different exposures to see what you can create.
Other articles on photography that you might enjoy on Photojourneys
- How shooting in RAW gives you better control over your photo content
- Using a telephoto lens for landscape photography
- Discover the benefits of using Auto ISO for wildlife photography
- Some tips to consider to improve your bird photography
- Experiment with photographing abstract patterns in nature
SUBSCRIBE to Photojourneys below
Feel free to PIN this article on Night Sky Photography


Great info and well explained for a newbie. Thanks
Thank you Shelley. We’re pleased that you found the article useful.