All photos © Robin and Arlene Karpan
Few natural phenomena are more fun to photograph than rainbows. The appearance of a brilliant multi-coloured arc can suddenly transform even the most mundane landscape into a spectacular scene. Here are a few pointers to keep in mind to better your chances of coming away with a memorable image.
Get prepared…sort of
We can’t prepare for a rainbow in the same way as preparing for more predictable events such as sunset or moonrise. Rainbows often appear with little warning. But the weather often gives us a few hints that conditions are favourable. The classic scenario is when a rainstorm passes through and the sun comes out immediately after. That’s our cue to get outside and look away from the sun to see if anything develops. While there’s no guarantee, a bright sun and nearby clouds that still have water droplets make for a great rainbow recipe.
This is the time to look for a nearby photogenic location to be ready. Also, make sure that your camera gear is ready so that little time is wasted if a rainbow does show up. Every rainbow is different. One may stay brilliant for several minutes while another might come and disappear in a few seconds.
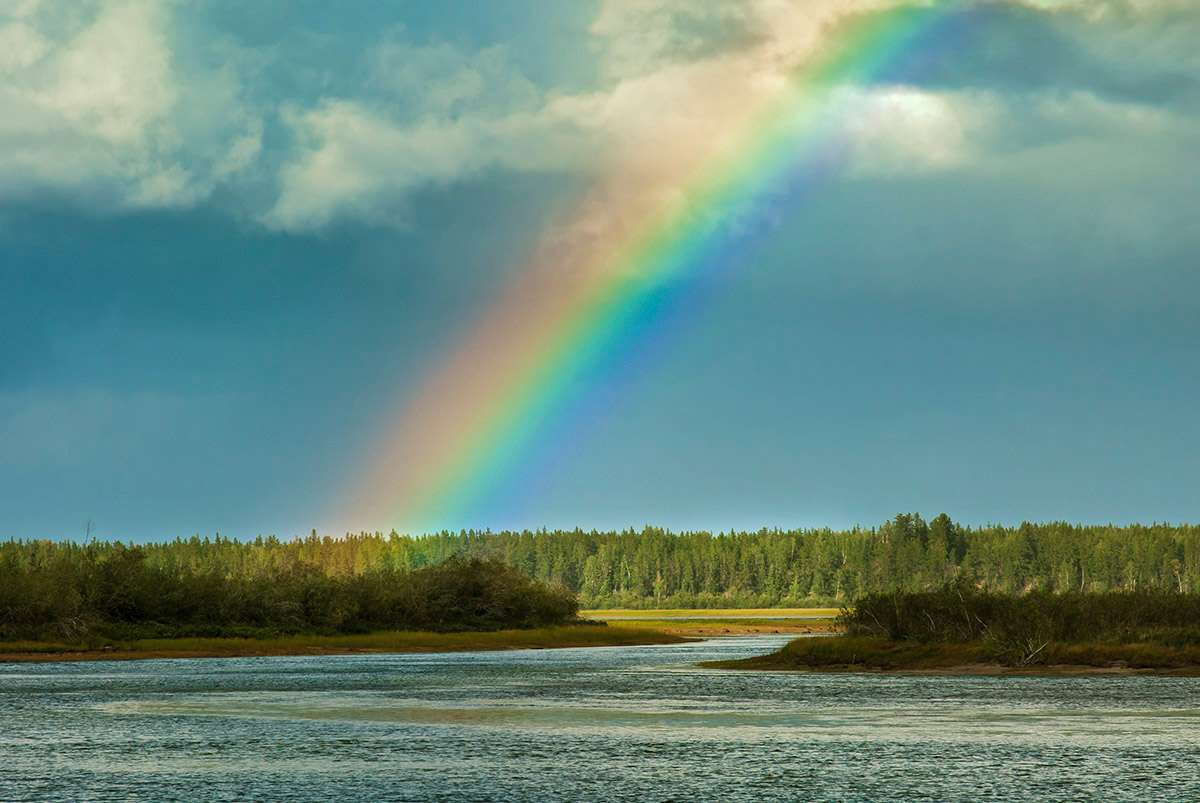
What is the best lens to use?
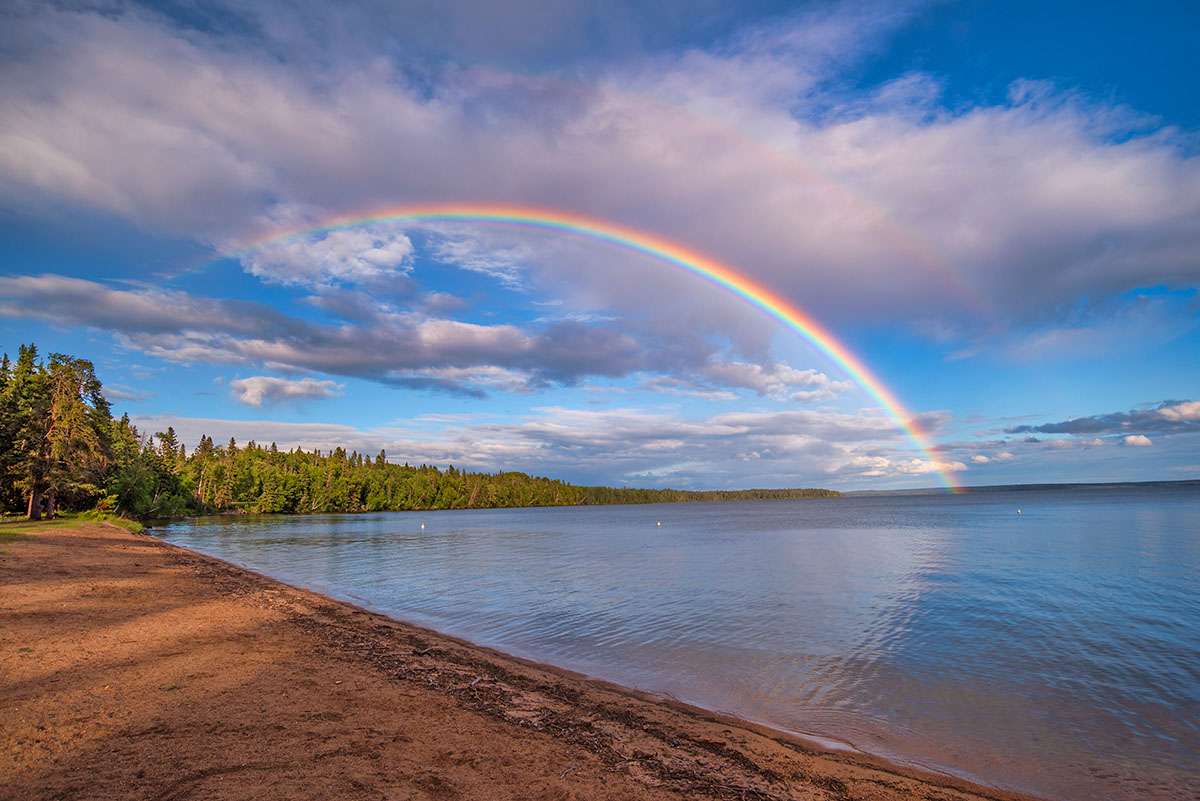
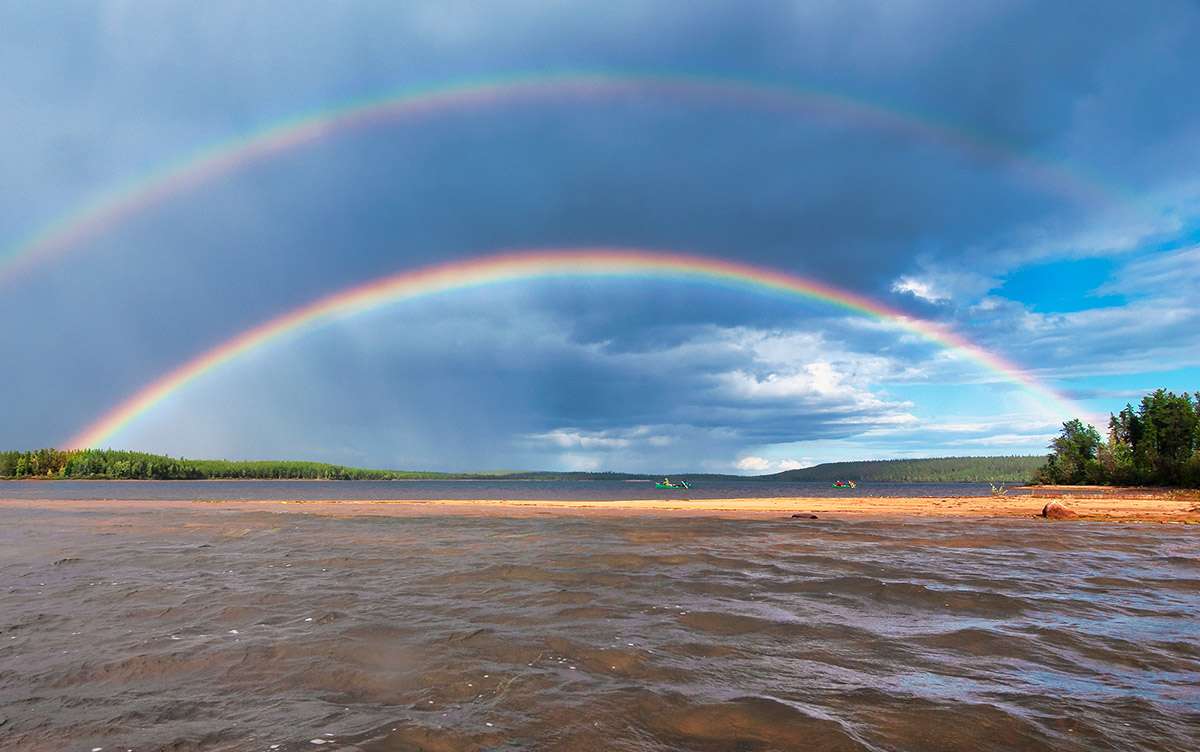
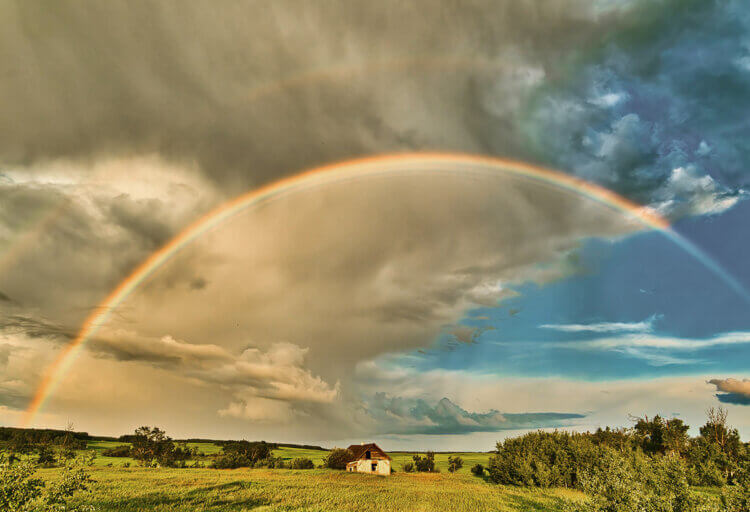
This depends on the rainbow and the composition you have in mind. When we get a full arc, or better yet a double arc, it’s hard to resist getting the whole thing in the frame. A 24mm lens on a full-frame camera can usually get a full arc in the frame, but it won’t be wide enough for a double arc. A wider lens, such as a 14 or 16mm may be necessary.
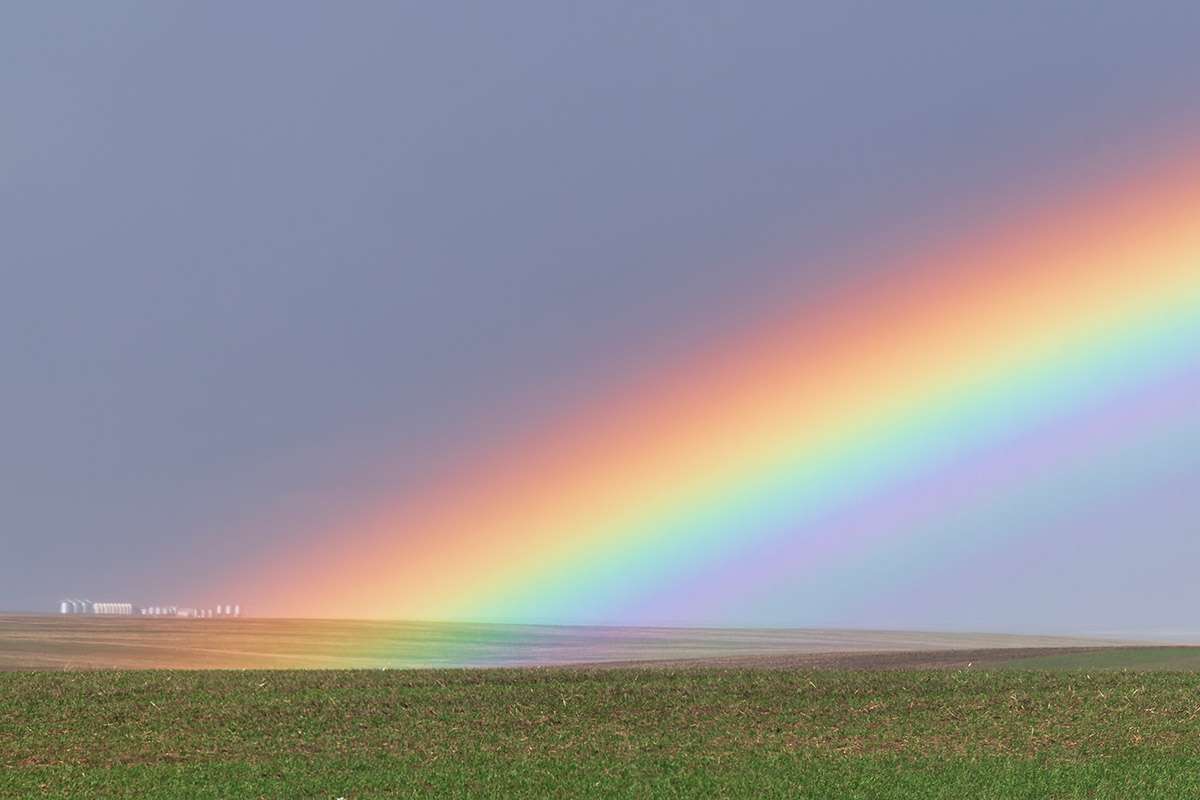
But more often than not, we don’t get a complete arc. One end of the rainbow may be bright and distinct while the other end is obscured in clouds. This is a good opportunity to zero in on the bright part and get more detail. There is no magic formula here – try different focal lengths to capture half the rainbow or just one end. A short telephoto, such as in the 200-300mm range can yield some interesting effects where the rainbow colours dominate the frame.
Use a polarizing filter
This is our favourite secret weapon for rainbow photography. A polarizer cuts through the haze and helps to make the rainbow colours more distinct. As you rotate the filter while looking through the viewfinder, the rainbow changes from being vivid to almost disappearing. So you can make fine adjustments until you get the effect you want.
Incorporate the rainbow into your composition
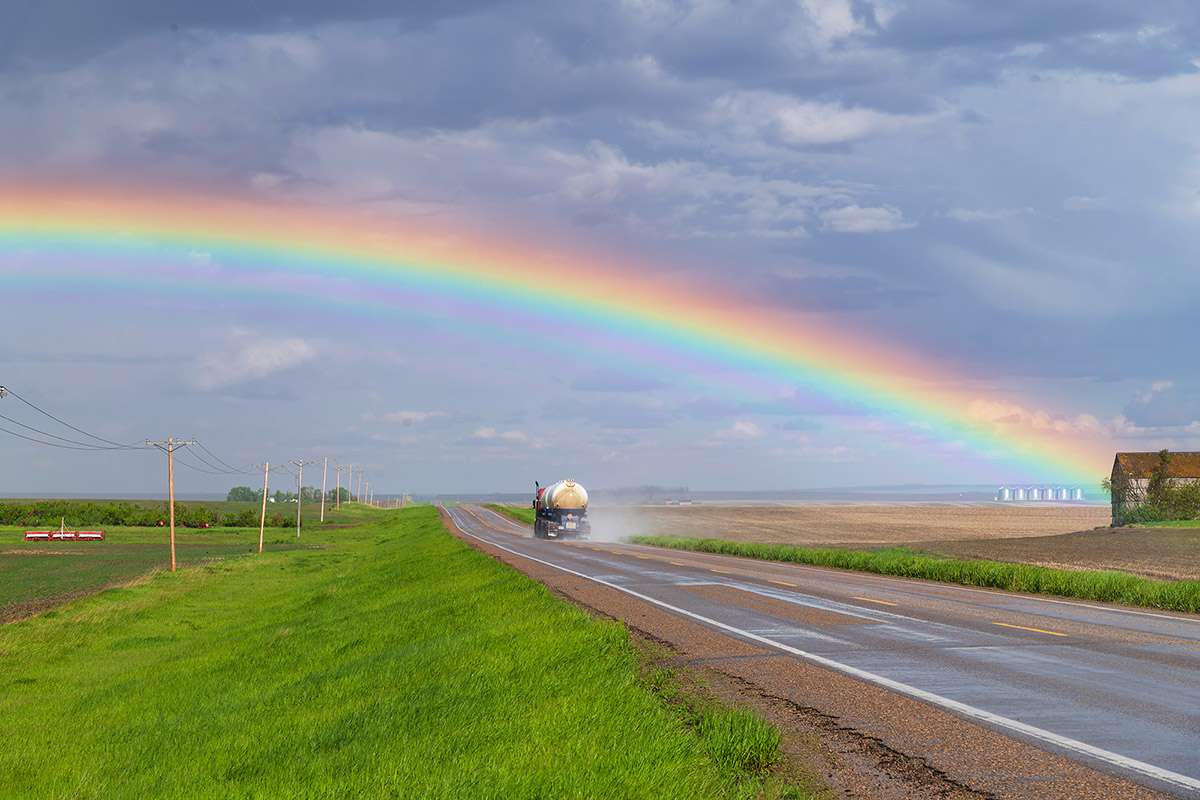
While a rainbow on its own is fine, the image has more interest if you can include elements to enhance the scene. A classic example is using the arc to frame something such as a building.
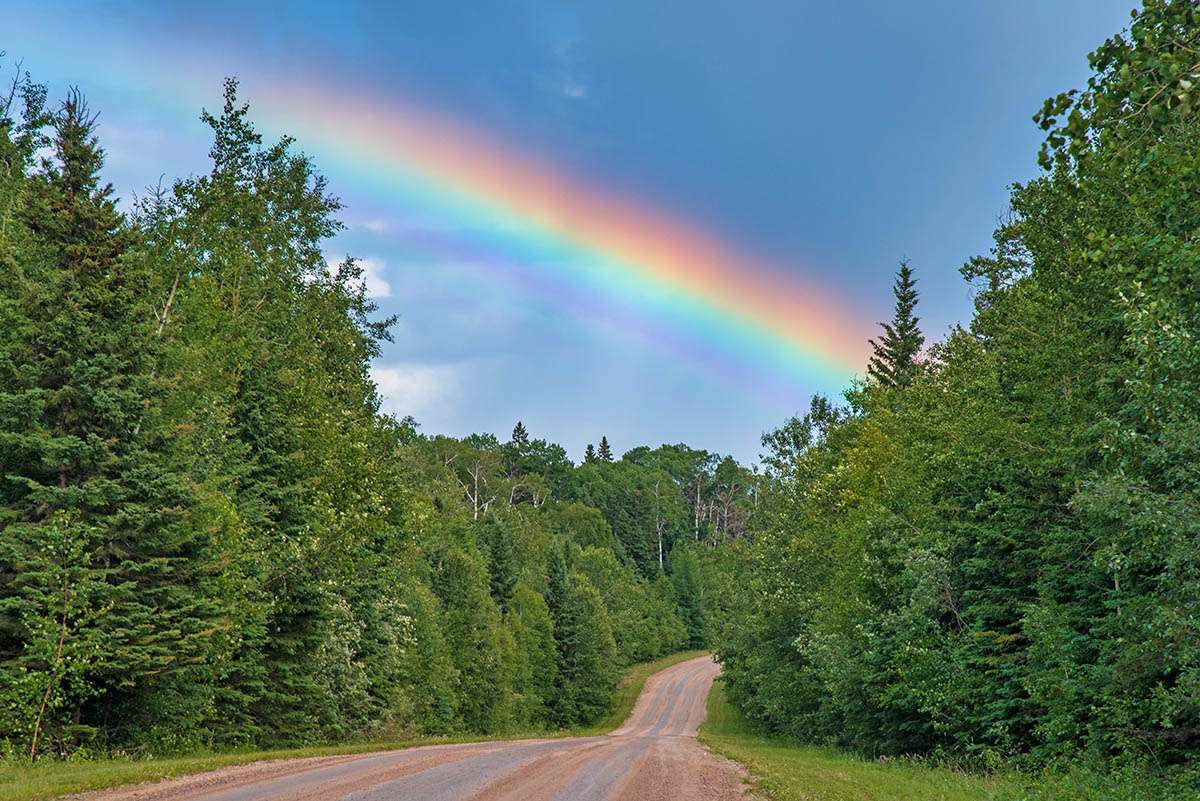
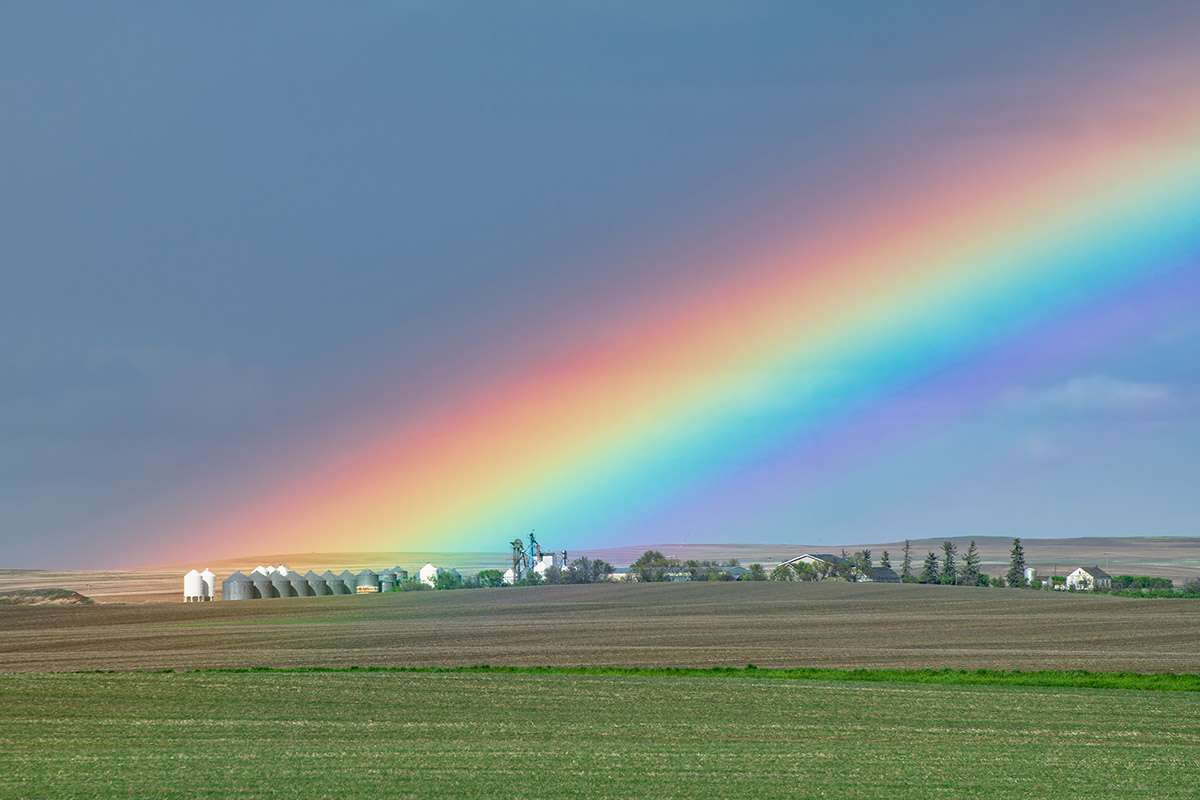
Another technique is to have one end of the rainbow seeming to emerge from a point of interest rather than just ending. This is easiest to do if you come across a rainbow while driving down a road. Sometimes, just travelling a bit farther in either direction makes it possible to reposition the rainbow. In the following photo, we saw the end of the rainbow in an open field, but by driving another couple of kilometres, the rainbow ended in a farmyard.
Camera settings
Be careful not to over-expose the highlights if you are using auto settings; otherwise you may lose detail in the bright parts of the rainbow. It’s best to keep a close eye on the histogram to make sure that the right side doesn’t come all the way to the edge. If the image is slightly under-exposed, that’s not a problem since it is a lot easier to open up the shadows in processing than trying to recover over-exposed highlights.
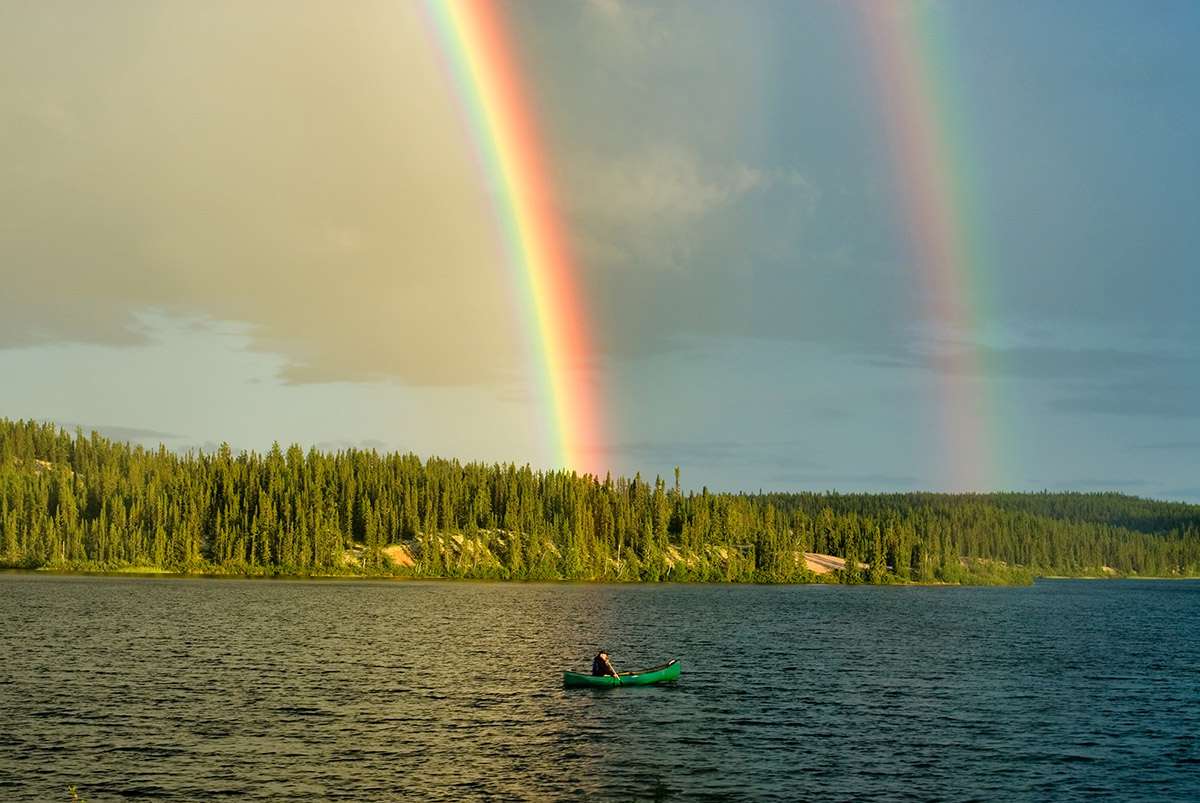
With a wide-angle lens, depth of field is less of an issue, allowing you to shoot at almost any aperture setting. But for longer lenses, it’s best to stop down to f/8, f/11 or so to give sufficient depth of field, especially if you have foreground interest in the frame. Since light levels tend to be lower, use a tripod if you have one, especially if you need to shoot at slower speeds.
Rainbow variations
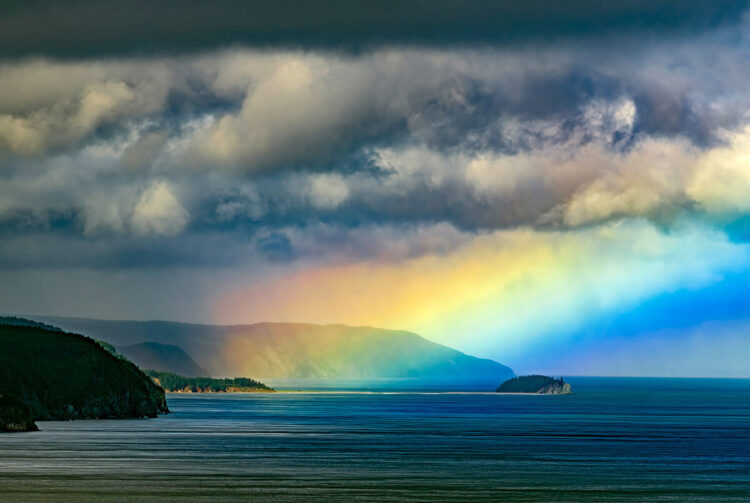
It isn’t essential to always have a perfectly formed rainbow for photography. Sometimes when a rainbow breaks up after a storm, it can produce some wild effects, almost like a mishmash of colours.
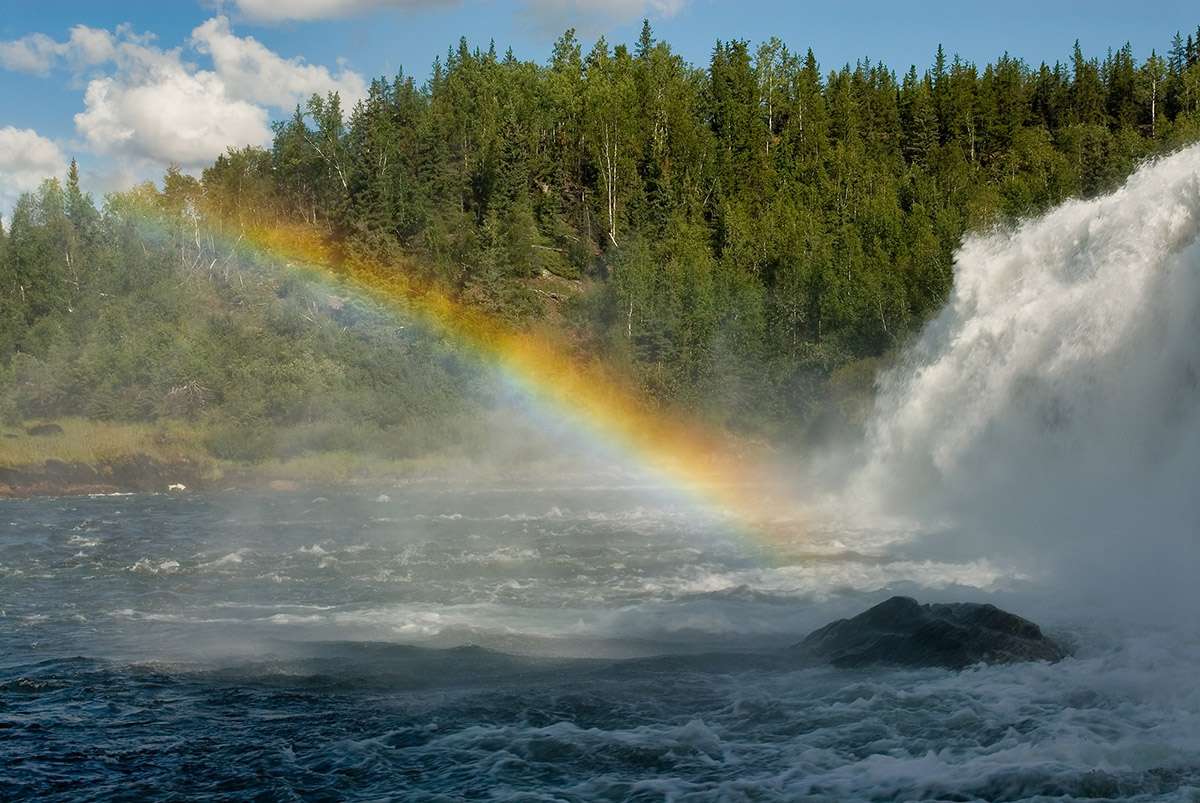
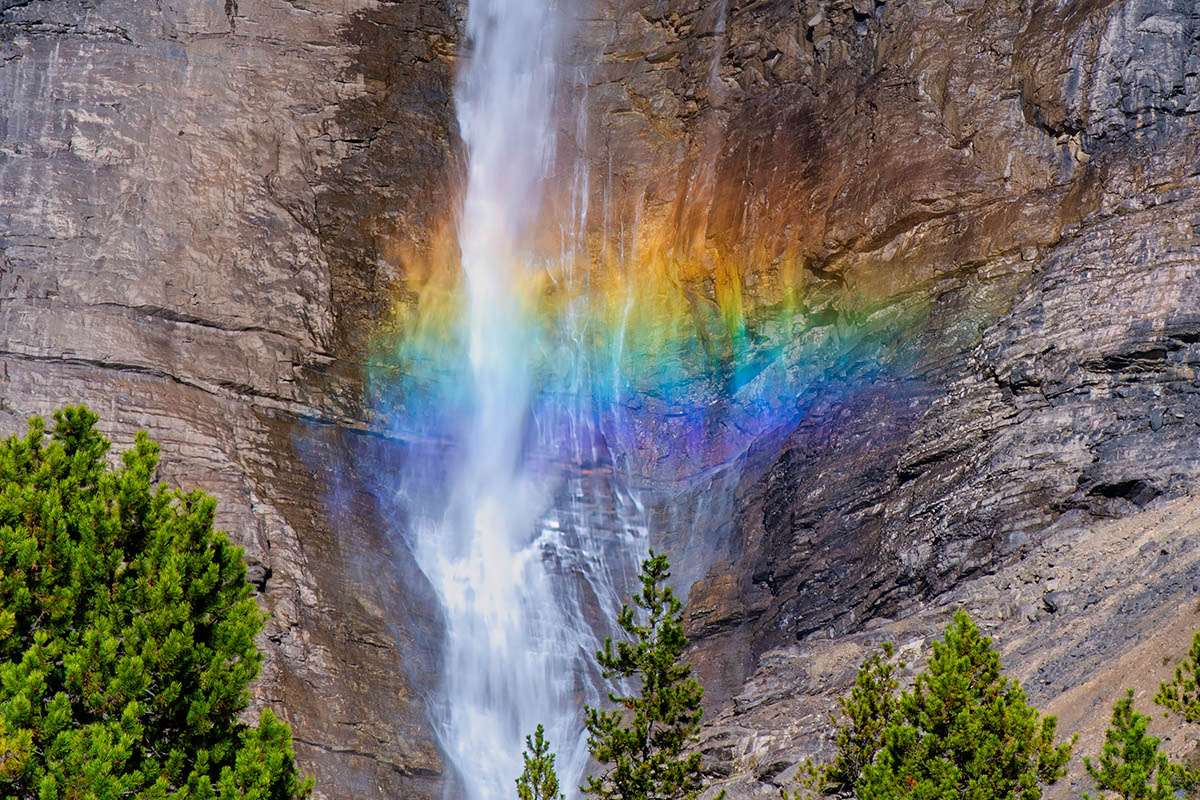
Rainbows can also be produced by flowing water, most notably waterfalls. Here, finding the right angle is key – a few steps away and it can disappear. These rainbow effects tend to be less fleeting, usually allowing us more time to set up a tripod and experiment with different settings and compositions.
Other articles on photography on Photojourneys that you might enjoy:
SUBSCRIBE to Photojourneys below
Feel free to PIN this article on Photographing Rainbows for later