This is the first in a four-part series on photographing Yellowstone National Park in the United States. Few places offer such an incredible variety of photo possibilities, from stunning landscapes to wildly colourful thermal features, along with fascinating critters. First we’ll look at the Grand Canyon of the Yellowstone, which is what impressed us most. The next posting will look at the park’s outstanding thermal features, followed by Yellowstone’s wildlife and the wild landscapes where they roam. Lastly, we’ll talk about the logistics of visiting the park, with some useful hints on planning your visit.
The Grand Canyon of the Yellowstone is one of the park’s highlights, and undoubtedly “the” top place for landscape photography. The breathtaking gouge in the earth is over 20 miles long and over 1,200 feet deep in places. The Yellowstone River races through the canyon, with plenty of thundering whitewater and two main waterfalls, simply called the Upper and Lower Falls.
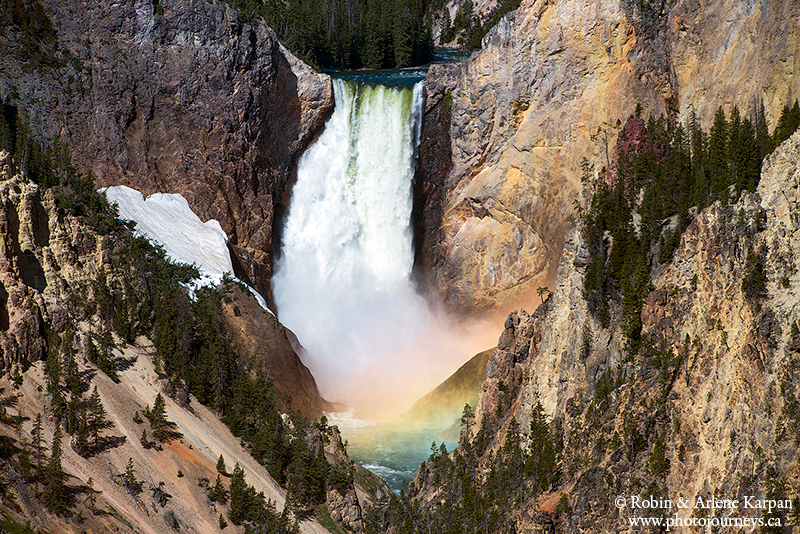
You can follow roads along both the north and south rim to various lookout points, plus hiking trails provide access to even more views and allow you to get deep into the canyon. You could easily spend the better part of a day here exploring and finding different vantage points. Our favourite spot is Artists Point along the south rim, which provides a spectacular view over the Lower Falls, the largest in the park. Plunging over 300 feet, Lower Falls is more than twice the height of Niagara Falls.
Morning is best to photograph the falls. How early depends on what you are after. While the most brilliant saturated light comes right after the sun clears the canyon rim, part of the north slope will still be in shadow at this time. A bit later in the morning, the light is still nice but the entire canyon is illuminated.
To get the rainbow effect on the mist at the bottom of Lower Falls, the timing is more specific. One of the guidebooks we had with us was Photographing Yellowstone National Park, by Gustav W. Verderber. His advice was to be at Artists Point at precisely 9:45 when the sun is at the right angle to the falls. During our early June visit, the colour started to appear around 9:30, and by 10:00 it was gone, so it’s best to set up before 9:30. Expect to find several other photographers here at this time, but in our experience at least, it never got overly crowded. The rainbow colours were slightly different each time we came, with variations depending on the clouds and especially the wind. When a stronger wind blows the mist, there’s a good chance that the rainbow colours will cover a wider area. A polarizing filter definitely helps to accentuate the colours.
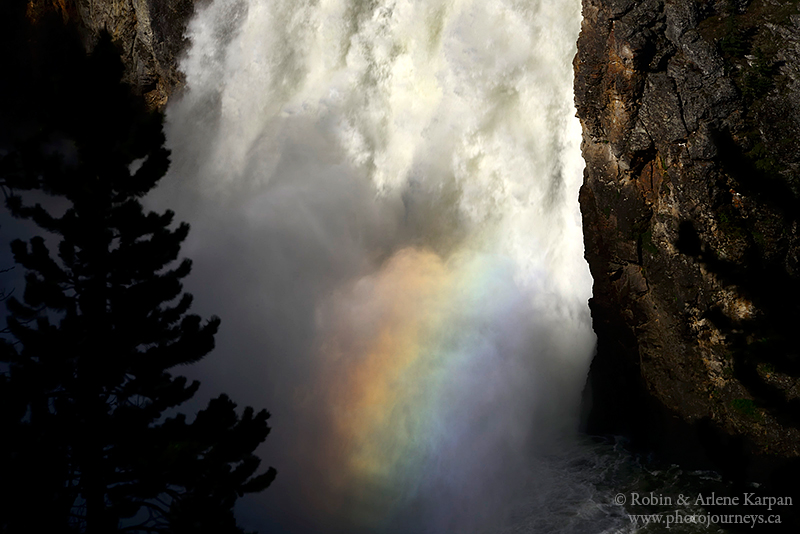
The Upper Falls are much smaller – “only” 109 feet, but still quite spectacular. It too is best photographed from the south rim. We were able to get a rainbow effect in early morning during our June visit. According to Verderber’s book, the rainbow is only visible in early summer when the sun is high enough in the sky.
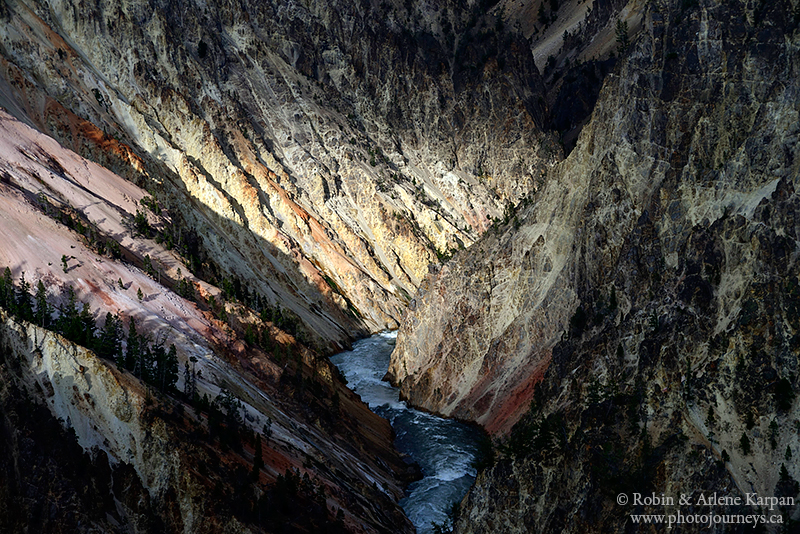
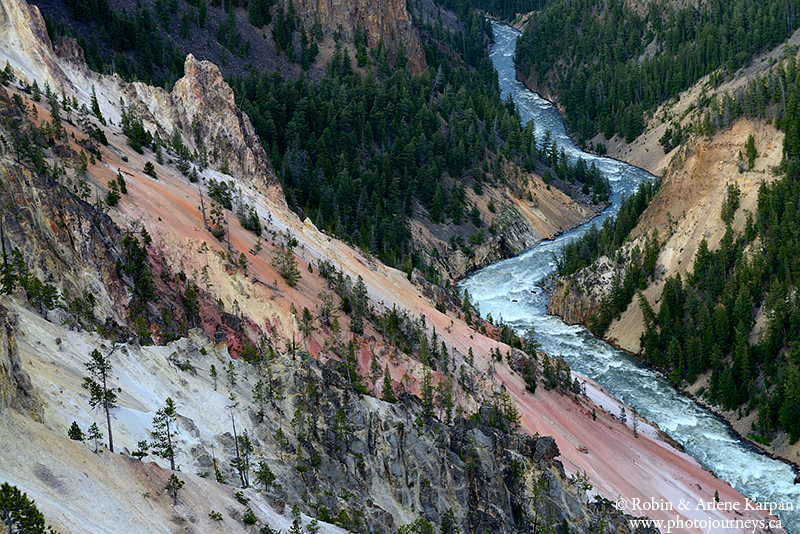
While the waterfalls are the most obvious features, the patterns and colour of the canyon walls are just as attractive. Oxidation in the rock and thermal activity have created some wild patterns. While there are detailed scientific explanations for the phenomena, the park summarizes it as the canyon walls being “rusted” and “cooked”. Colourful effects are obvious throughout the canyon, with some top spots being Artists Point (looking downstream instead of towards the falls), and Inspiration Point and Grand View Point on the north rim. The viewpoints on the north rim are especially good for photos of the canyon downstream from the falls. Morning is best for photographing the falls, but late afternoon and early evening are especially spectacular for downstream views. While these classic overviews of the canyon are great places to start, exploring the trails along both sides of the river brings a wealth of other photo opportunities.

Feel free to PIN this article
